Hello Magento Friends,
In this blog, I will guide you through the steps to add an image field to a CMS page in Magento 2.
In Magento 2, the CMS (Content Management System) plays a vital role in managing static pages, such as homepages, about us pages, and contact pages. By default, Magento 2 provides text fields for content editing on CMS pages. However, in some cases, you might want to include images to enrich the content and provide a visually appealing experience for your customers.
Let’s look at the steps for how to add an image field on the CMS page in Magento 2.
Steps to Add Image Field on CMS Page in Magento 2:
Step 1: In the first step, we need to create a db_schema.xml file inside the extension at the following path.
{{magento_root}}/app/code/Vendor/Module/etc/db_schema.xml
Now add the code as follows.
<?xml version="1.0"?>
<schema xmlns:xsi="http://www.w3.org/2001/XMLSchema-instance" xsi:noNamespaceSchemaLocation="urn:magento:framework:Setup/Declaration/Schema/etc/schema.xsd">
    <table name="cms_page" resource="default" engine="innodb" comment="Cms Page">
        <column length="255" name="custom_image" nullable="false" xsi:type="varchar"/>
    </table>
</schema>
Step 2: After that, we need to create a cms_page_form.xml to define the CMS page form with the image field File inside the extension at the following path.
{{magento_root}}/app/code/Vendor/Module/view/adminhtml/ui_component/cms_page_form.xml
Then include the below-mentioned code
<?xml version="1.0" encoding="UTF-8"?>
<form xmlns:xsi="http://www.w3.org/2001/XMLSchema-instance" xsi:noNamespaceSchemaLocation="urn:magento:module:Magento_Ui:etc/ui_configuration.xsd">
    <fieldset name="content">
        <field name="custom_image" formElement="imageUploader">
            <argument name="data" xsi:type="array">
                <item name="config" xsi:type="array">
                    <item name="dataType" xsi:type="string">string</item>
                    <item name="label" xsi:type="string" translate="true">Page Image</item>
                    <item name="formElement" xsi:type="string">imageUploader</item>
                    <item name="source" xsi:type="string">page</item>
                    <item name="sortOrder" xsi:type="number">30</item>
                    <item name="previewTmpl" xsi:type="string">Magento_Catalog/image-preview</item>
                    <item name="required" xsi:type="boolean">false</item>
                </item>
            </argument>
        </field>
    </fieldset>
</form>
Step 3: After that, we need to register the observer in the event.xml file in the observer File inside the extension at the following path.
{{magento_root}}/app/code/Vendor/Module/etc/events.xml
And add the below piece of code
<?xml version="1.0" encoding="UTF-8"?>
<config xmlns:xsi="http://www.w3.org/2001/XMLSchema-instance" xsi:noNamespaceSchemaLocation="urn:magento:framework:Event/etc/events.xsd">
    <event name="cms_page_prepare_save">
        <observer name="custom_cms_image" instance="Vendor\Module\Observer\SaveCustomImage" />
    </event>
</config>Step 4: Finally, we need to Save that uploaded image in the observer File inside the extension at the following path.
{{magento_root}}/app/code/Vendor/Module/Observer/SaveCustomImage.php
Now add the code as mentioned below
<?php
namespace Vendor\Module\Observer;

use Magento\Framework\Event\ObserverInterface;
use Magento\Framework\App\Request\DataPersistorInterface;
use Magento\Framework\Filesystem;
use Magento\MediaStorage\Model\File\UploaderFactory;

class SaveCustomImage implements ObserverInterface
{
    protected $dataPersistor;
    protected $uploaderFactory;
    protected $filesystem;

    public function __construct(
        DataPersistorInterface $dataPersistor,
        UploaderFactory $uploaderFactory,
        Filesystem $filesystem)
    {
        $this->dataPersistor = $dataPersistor;
        $this->uploaderFactory = $uploaderFactory;
        $this->filesystem = $filesystem;
    }

    public function execute(\Magento\Framework\Event\Observer $observer)
    {
        $data = $this->dataPersistor->get('cms_page');
        if (!$data) {
            return;
        }

        $image = $data['custom_image'] ?? null;
        if ($image) {
            $uploader = $this->uploaderFactory->create(['fileId' => 'custom_image']);
            $uploader->setAllowedExtensions(['jpg', 'jpeg', 'gif', 'png']);
            $uploader->setAllowRenameFiles(true);
            $uploader->setFilesDispersion(true);
            $mediaDirectory = $this->filesystem->getDirectoryRead(\Magento\Framework\App\Filesystem\DirectoryList::MEDIA);
            $result = $uploader->save($mediaDirectory->getAbsolutePath('custom_cms_images'));
            $data['custom_image'] = 'custom_cms_images' . $result['file'];
        }

        $observer->getPage()->addData($data);
    }
}
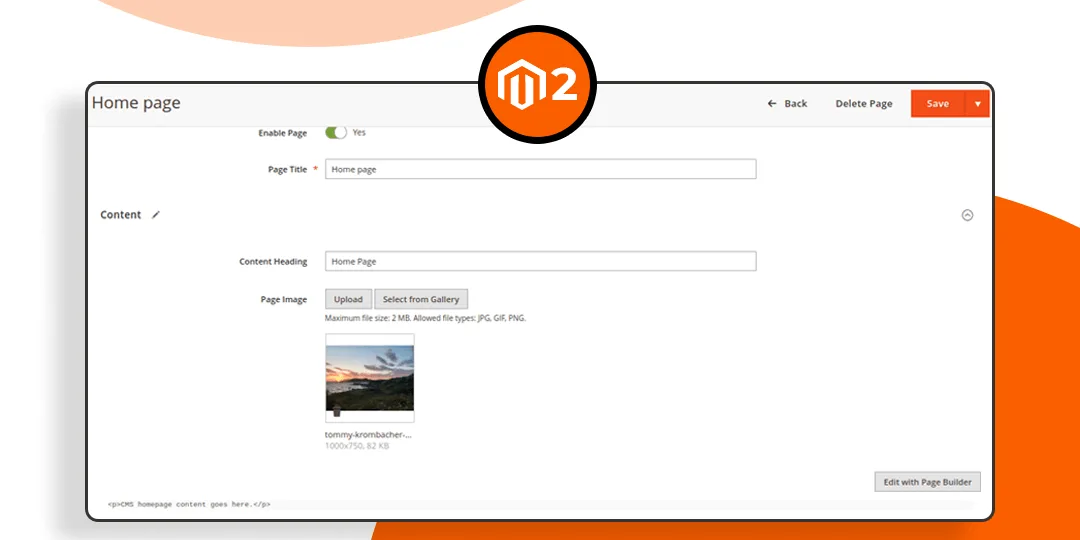
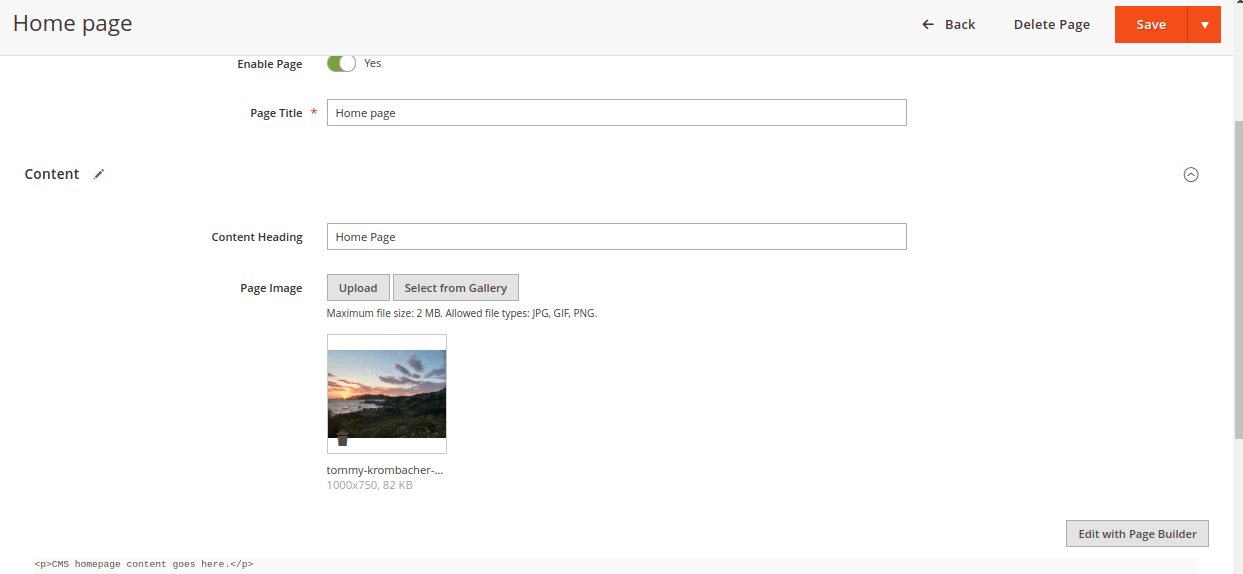
Output:
Conclusion:
You have successfully added an image field to your CMS page in Magento 2. You can also Add Custom Button in Backend CMS Page Section in Magento 2. Share this tutorial with your friends, and stay updated with us for more such tutorials.
Happy Coding!


Not working on magento 2.4.7.
If I select an image it gets saved in the database column as string ‘Array’, if I try to upload I get a javascript error:
uppy.min.js:21 POST https:///admin/cms/page/edit/page_id/10/key/7e1fc0f…/back/edit/undefined 404 (Not Found)
uppy.min.js:2 [Uppy] [11:49:54] Upload error
file-uploader.js:160 Upload error
file-uploader.js:161 undefined
Confirm you implement the code properly and also run the Magento commands as well.