
Hello Shopify Friends,
In this tutorial, I will explain How to Add Canonical Tag in Shopify.
Canonical tags, which are used in the field of SEO, in many cases help search engines know which version of the webpage they should use, in case the same page has multiple URLs attached to its content. There is probably no situation in which the structure of your content is more important for search engines than preventing duplicate content and confusing search engines, and thus diluting the ranking potential of your pages.

Inserting a canonical tag adds a small twist, so if you’re a Shopify user looking to beef up your SEO strategy and insert a canonical tag, there are some specific changes you’ll have to make to your online store theme. You can say to search engines which URL is original or most relevant by doing so. It relays the signals from several URLs and consolidates it so that the chosen page has better visibility and search performance.
Here’s a step-by-step guide on how to add a canonical tag in Shopify:
Steps to Add Canonical Tag in Shopify:
Step 1: Log in to your Shopify admin panel.
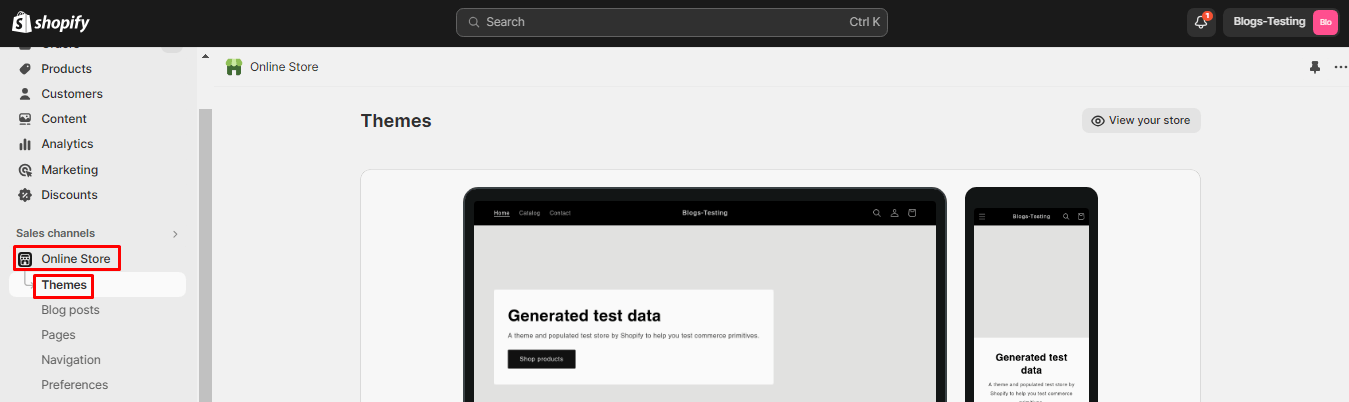
Step 2: In the left sidebar, go to Online Store and then click on Themes.
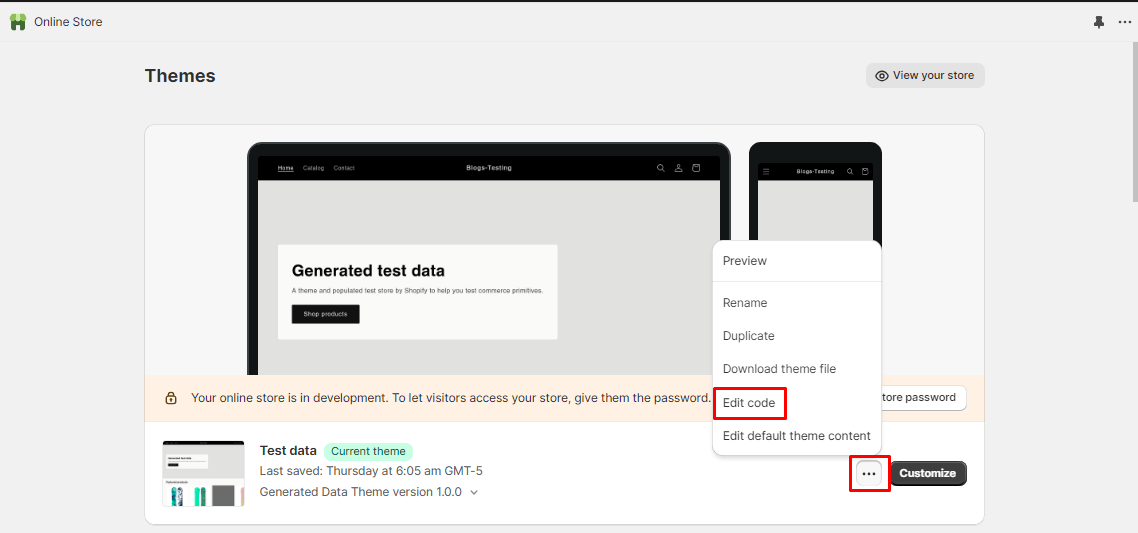
Step 3: Find and click on Actions and then select Edit code.
Step 4: In the editor, locate and click on the theme.liquid file. This file is usually found under the Layout section.
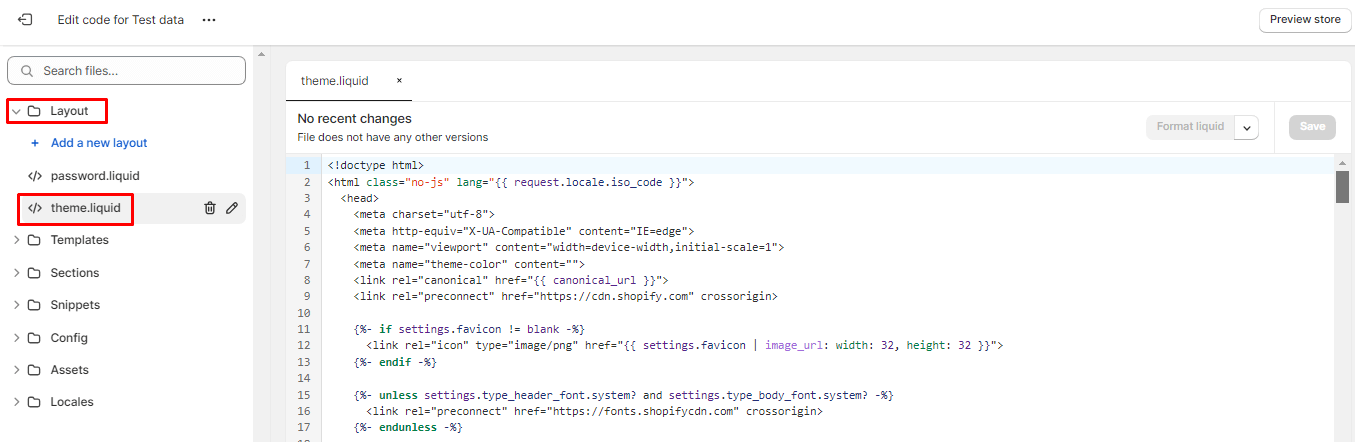
Step 5: Add the following code inside the <head> section of your theme.liquid file:
{% if template contains 'product' %}
  <link rel="canonical" href="{{ canonical_url }}">
{% endif %}
This code checks if the current template is related to a product and inserts the canonical URL dynamically.
Step 6: Save the changes to the theme.liquid file.

Verify Canonical Tags in Shopify:
Check Source Code:
Visit your Shopify website and right-click on the page. Select “View Page Source” or “Inspect” to view the HTML source code. Look for the canonical tag in the <head> section.
Use SEO Tools:
Use SEO tools like Google Search Console to check if canonical tags are correctly implemented and recognized by search engines.
Final Say:
By adding the canonical tag, you’re helping search engines understand the preferred URL for indexing, which can improve your site’s SEO. Make sure to test thoroughly and monitor your site’s performance after implementing any changes.

More than this, hire SEO experts who will help you improve search engine rankings for your Shopify business.