Hello Magento Folks,
Hope you doing well, last time we have published about Magento 2: How To configure Auto Select Shipping Methods when more than one shipping methods are available. Today, We are going to learn How to Create Custom Table (via XML) in Magento 2.
The introduction of a new feature called Declarative schema is announced by Magento. The Declarative Schema is introduced in the intention of solving the Magento installation and for the process of upgradation. Mainly the approach of the new feature will grant the developer to remove all the type of coding process and directly create a custom table using XML.
For creating a custom table in order to get the final result, the developers have to work with complexity and were very time-consuming.
To, overcome this problem the Magento has introduced the new feature of creating a custom table and make less time-consuming for the developers. This new feature allows creating the custom table automatically, without doing any repeated configurations. In order to relax the developers, there is no need to write extra codes for the new version.
Note: This functionality for creating a custom table using XML will be working only in Magento 2.3 and the greater versions than Magento 2.3
For creating the custom table using the XML in Magento 2.3 and greater versions kindly follow the below steps:
First, create a file as given below path:
app\code\Vendor\Extension\etc\db_schema.xml
<?xml version="1.0"?>
<schema xmlns:xsi="http://www.w3.org/2001/XMLSchema-instance" xsi:noNamespaceSchemaLocation="urn:magento:framework:Setup/Declaration/Schema/etc/schema.xsd">
    <table name="custom_table_name" resource="default" engine="innodb" comment="Comment Here">
        <column xsi:type="varchar" name="column_name" nullable="false" length="10" comment="column comment here"/>

        <constraint xsi:type="primary" referenceId="PRIMARY">
            <column name="column_name"/>
        </constraint>
    </table>
</schema>
Step 2: After completing the steps of creating the file as per given in the above steps, you need to run the following command:
php bin/magento setup:upgrade
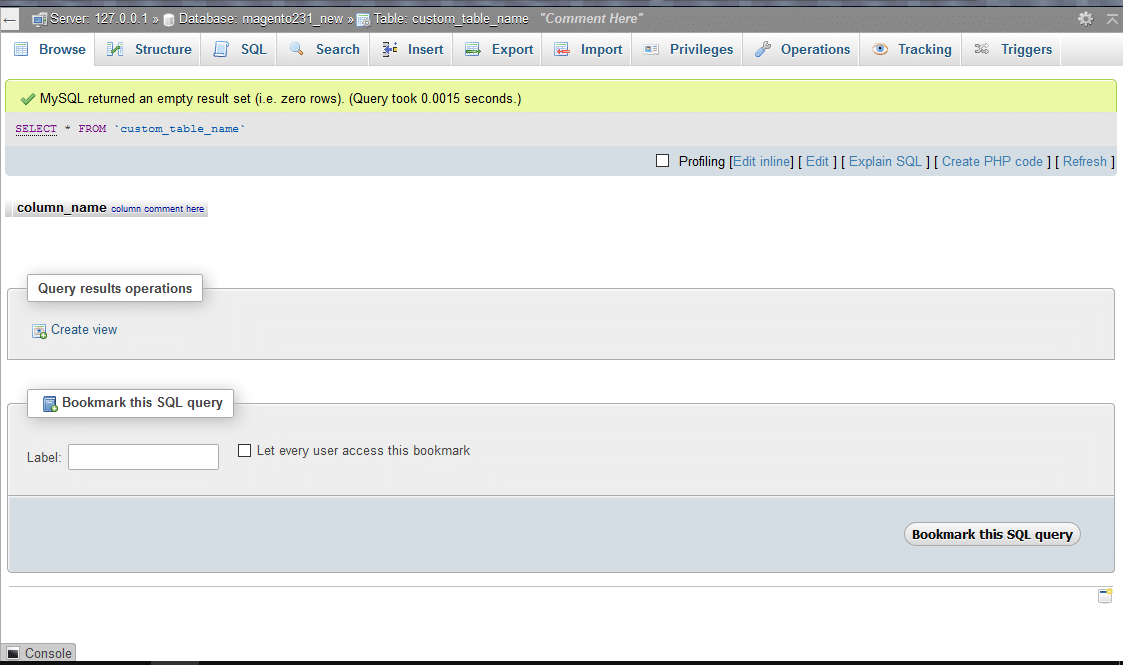
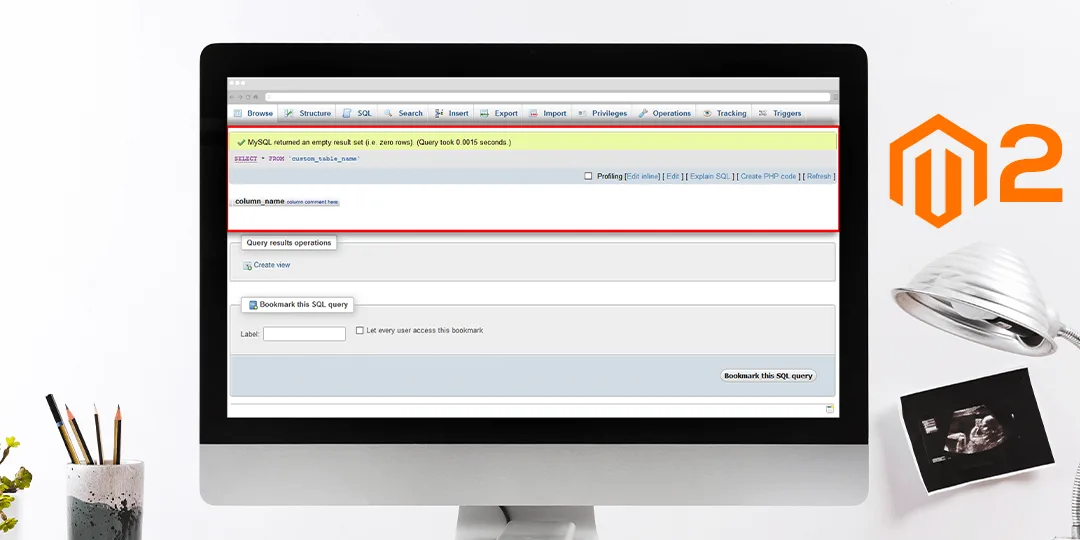
Step 3: Check in the database table will be created as per shown below:

Therefore, the above given easy steps will definitely help you to Create the custom table using XML.
Over to You,
Now, there is no need for writing big scripts and waste your time follow the above given easy steps and make use of new features given by Magento.
That’s it for today, so I assume all of you can execute without facing any difficulty. In case you have any question, let us know in the comment section below If you find these solutions helpful don’t forget to share with your Magento pals.


