Hello Magento Friends,
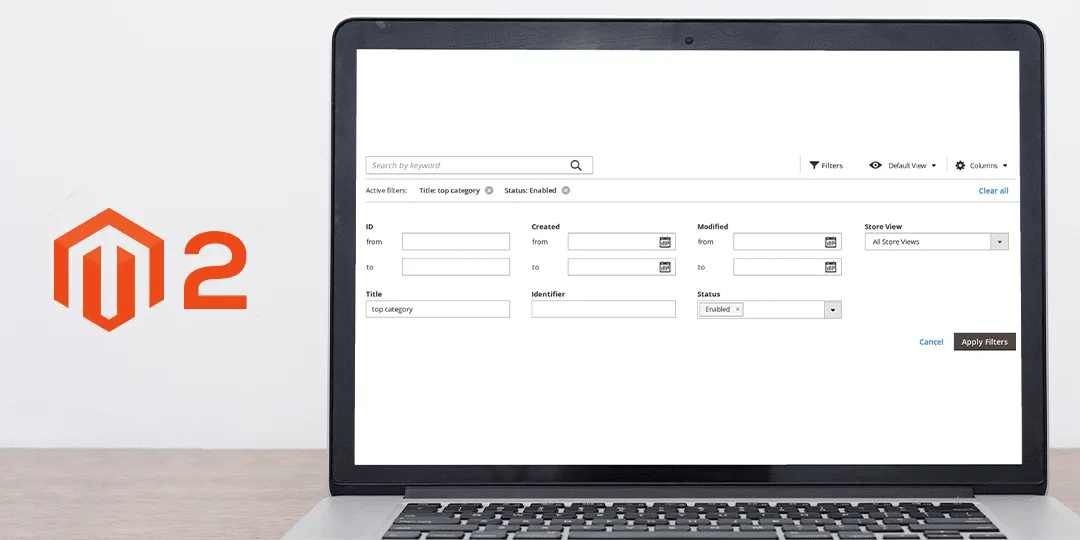
In today’s instructional guide I will be describing How to Add Storeview Switcher in Custom Admin Grid using UI Component in Magento 2.
Magento 2 provides the functionality to set up multiple stores. Multi-store is used when the admin wants to manage multiple stores and websites from a single admin panel. When an admin thinks of expanding the business, multi-store websites come into the picture.
To manage multiple stores, the admin needs a multi-store view in the admin UI grid in Magento 2.
Let’s see How you can Add Storeview Switcher in Custom Admin Grid using UI Component in Magento 2.
Steps to Add Storeview Switcher in Custom Admin Grid using UI Component in Magento 2:
Step 1: First of all go to the below file path
app\code\Vendor\Extension\view\adminhtml\layout\vendor_extension_grid.xml
Make changes in the code mentioned as follows
<?xml version="1.0"?>
<page xmlns:xsi="http://www.w3.org/2001/XMLSchema-instance"
      xsi:noNamespaceSchemaLocation="urn:magento:framework:View/Layout/etc/page_configuration.xsd">
    <update handle="styles"/>
    <body>
        <referenceContainer name="page.main.actions">
            <block class="Magento\Backend\Block\Store\Switcher" name="adminhtml.report.grid.store_switcher" as="store_switcher">
                <arguments>
                    <argument name="use_confirm" xsi:type="string">0</argument>
                    <argument name="switch_websites" xsi:type="string">0</argument>
                    <argument name="switch_store_groups" xsi:type="string">0</argument>
                    <argument name="switch_store_views" xsi:type="string">1</argument>
                </arguments>
            </block>
        </referenceContainer>
        <referenceContainer name="content">
            <uiComponent name="vendor_extension_listing"/>
        </referenceContainer>
    </body>
</page>
Step 2: Then move to the following file path
app\code\Vendor\Extension\view\adminhtml\ui_component\vendor_extension_listing.xml
Then apply changes in the file as given below
<?xml version="1.0" encoding="UTF-8"?>
<listing xmlns:xsi="http://www.w3.org/2001/XMLSchema-instance" xsi:noNamespaceSchemaLocation="urn:magento:module:Magento_Ui:etc/ui_configuration.xsd">
     <listingToolbar name="listing_top">
        <argument name="data" xsi:type="array">
            <item name="config" xsi:type="array">
                <item name="sticky" xsi:type="boolean">true</item>
                <item name="template" xsi:type="string">ui/grid/toolbar</item>
            </item>
        </argument>
        <bookmark name="bookmarks" class="\Vendor\Extension\Ui\Component\Bookmark">
            <argument name="data" xsi:type="array">
                <item name="config" xsi:type="array">
                    <item name="component" xsi:type="string">Magento_Ui/js/grid/controls/bookmarks/bookmarks</item>
                    <item name="storageConfig" xsi:type="array">
                        <item name="saveUrl" xsi:type="url" path="mui/bookmark/save"/>
                        <item name="deleteUrl" xsi:type="url" path="mui/bookmark/delete"/>
                        <item name="namespace" xsi:type="string">vendor_extension_listing</item>
                    </item>
                </item>
            </argument>
        </bookmark>
        <columnsControls name="columns_controls"/>
        <filters name="listing_filters" />
        <paging name="listing_paging"/>
    </listingToolbar>
</listing>
Step 3: After that navigate to the below-mentioned file path
app\code\Vendor\Extension\Ui\Component\Bookmark.php
Then modify the file with the below code snippet
<?php
namespace Vendor\Extension\Ui\Component;

use Magento\Framework\View\Element\UiComponent\ContextInterface;
use Magento\Ui\Api\BookmarkManagementInterface;
use Magento\Ui\Api\BookmarkRepositoryInterface;

class Bookmark extends \Magento\Ui\Component\Bookmark
{
     public function __construct(
        ContextInterface $context,
        BookmarkRepositoryInterface $bookmarkRepository,
        BookmarkManagementInterface $bookmarkManagement,
        array $components = [],
        array $data = [])
     {
        parent::__construct($context, $bookmarkRepository, $bookmarkManagement, $components, $data);
     }

     /**
     * Register component
     *
     * @return void
     */
     public function prepare()
     {
        $namespace = $this->getContext()->getRequestParam('namespace', $this->getContext()->getNamespace());
        $config = [];
        if (!empty($namespace))
        {
            $storeId = $this->getContext()->getRequestParam('store');

            if (empty($storeId))
            {
                $storeId = $this->getContext()->getFilterParam('store_id');
            }

            $bookmarks = $this->bookmarkManagement->loadByNamespace($namespace);
            /** @var \Magento\Ui\Api\Data\BookmarkInterface $bookmark */
            foreach ($bookmarks->getItems() as $bookmark)
            {
                if ($bookmark->isCurrent())
                {
                    $config['activeIndex'] = $bookmark->getIdentifier();
                }

                $config = array_merge_recursive($config, $bookmark->getConfig());

                if (!empty($storeId))
                {
                    $config['current']['filters']['applied']['store_id'] = $storeId;
                }
            }
        }

        $this->setData('config', array_replace_recursive($config, $this->getConfiguration($this)));

        parent::prepare();

        $jsConfig = $this->getConfiguration($this);
        $this->getContext()->addComponentDefinition($this->getComponentName(), $jsConfig);
    }
}
Step 4: Finally run the below commands
php bin/magento setup:di:compile
php bin/magento cache:flush
Conclusion:
Using the above steps admin can easily Add Storeview Switcher in Custom Admin Grid using UI Component in Magento 2. Before that, you need to Set up Multi-Store in Magento 2.
For any issues, you can connect with me through the comment section.
Happy Coding!


