Securing authentication is among the most important parts of a web application, as your login system will be at risk of brute-force attacks, which are attempts to gain access to user accounts by trying different password combinations.
Laravel 12 provides a built-in way to limit the number of login attempts made by an individual user and, hence, keeps your users safe from repeated failed attempts at logging into your application.

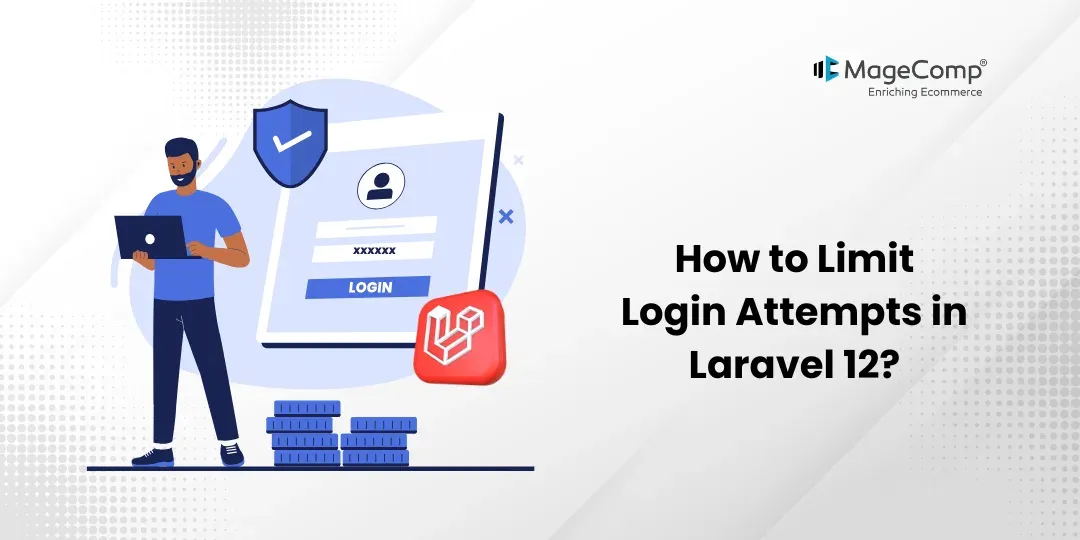
In this blog, we will see how to limit login attempts in a Laravel 12 project. This helps protect your application from brute-force attacks by limiting the number of failed login attempts.
Why Limit Login Attempts?
Limiting login attempts will allow you to:
- Prevent brute-force attacks
- Protect user accounts from being accessed by unauthorized users
- Minimize server load due to excessive requests from potential attackers
- Improve the security of your application overall
Prerequisite:
1. Composer (latest Version)
2. Laravel version 12
Steps to Limit Login Attempts in Laravel 12:
Here are the steps to follow:
Step 1: Install Laravel 12
Step 2: Set Database details and migrate
Step 3: Define Notifications
Step 4: Create Routes
Step 5: Create Controller
Step 6: Test Project
Now, let’s see all the steps with the detailed information.
Step 1: Install Laravel 12
You will need a fresh Laravel 12 project for this demonstration. You can easily create a new project for this demonstration using the following command:
composer create-project laravel/laravel:^12.0 login-attempt-demoStep 2: Set Database details and migrate
Set the database details in the .env as your current credentials and use the below command to migrate the database.
php artisan migrateStep 3: Create Routes
Now, create routes for the login form and the login action.
routes/web.php
<?php
use Illuminate\Support\Facades\Route;
use App\Http\Controllers\AuthController;
Route::get('/', [AuthController::class, 'showLogin']);
Route::post('login', [AuthController::class, 'login'])->name('login');
Step 4: Create Controller
Here, we will create AuthController. Use the command below to create the controller
php artisan make:controller AuthControllerapp/Http/Controllers/AuthController.php
<?php

namespace App\Http\Controllers;

use Illuminate\Http\Request;
use Illuminate\Support\Facades\Auth;
use Illuminate\Support\Facades\RateLimiter;
use Illuminate\Support\Str;

class AuthController extends Controller
{
    /**
     * Show Login Form
     */
    public function showLogin()
    {
        return view('login');
    }

    /**
     * Handle Login with Attempt Limit
     */
    public function login(Request $request)
    {
        $request->validate([
            'email' => 'required|email',
            'password' => 'required'
        ]);

        $key = Str::lower($request->email).'|'.$request->ip();

        // Check max attempts (5)
        if (RateLimiter::tooManyAttempts($key, 5)) {
            $seconds = RateLimiter::availableIn($key);

            return back()->withErrors([
                'email' => "Too many attempts. Try again in {$seconds} seconds."
            ]);
        }

        if (Auth::attempt($request->only('email', 'password'))) {
            RateLimiter::clear($key);
            return redirect('/dashboard');
        }

        // Increase attempt count
        RateLimiter::hit($key, 60);

        return back()->withErrors([
            'email' => 'Invalid credentials.'
        ]);
    }
}
Step 5: Create Blade File
Now, create a login blade file.
resources/views/login.blade.php
<!DOCTYPE html>
<html>
<head>
    <title>Login Attempt Limit</title>
</head>
<body>

<h2>Login Form</h2>

@if($errors->any())
    <p style="color:red;">{{ $errors->first() }}</p>
@endif

<form method="POST" action="{{ route('login') }}">
    @csrf

    <input type="email" name="email" placeholder="Enter Email"><br><br>
    <input type="password" name="password" placeholder="Enter Password"><br><br>

    <button type="submit">Login</button>
</form>

</body>
</html>
Step 6: Test Project
Now, run the Laravel app
php artisan serveNow, go to your web browser, type the given URL, and view the app output:
Conclusion
Limiting login attempts in Laravel 12 is essential to protect your application from brute-force attacks. Whether you use built-in rate limiting, middleware, or custom logic, Laravel makes it easy to implement robust security.
By combining throttling with additional measures like CAPTCHA and 2FA, you can significantly enhance your application’s authentication system.

FAQ
1. What is the default login attempt limit in Laravel 12?
Laravel typically allows 5 login attempts per minute before locking the user out.
2. Why is limiting login attempts important?
By limiting login attempts, you will help to protect your application from brute-force attacks, reduce server load, and protect user accounts from being compromised.
3. How long should a lockout period be?
Typically, 1–5 minutes is recommended. For higher security applications, longer durations may be used.