Hello Magento Friends,
Today I will illustrate Juspay Payment Gateway for Magento 2.
Digital payments are accelerating the E-commerce world. Online store owners must provide various options for payments to customers in order to increase their shopping experience. Juspay is one such payment gateway that can be integrated into your online store.
Juspay Payment Gateway Extension for Magento 2 by MageComp allows the store owners to securely accept payments from customers in a reliable way. The store admin can set customized titles for the payment. The admin can enable the payment method for only specific countries if required.
Steps to Integrate Juspay Payment Gateway for Magento 2:
Step 1: Install Juspay Payment Gateway Extension to your Magento 2 store.
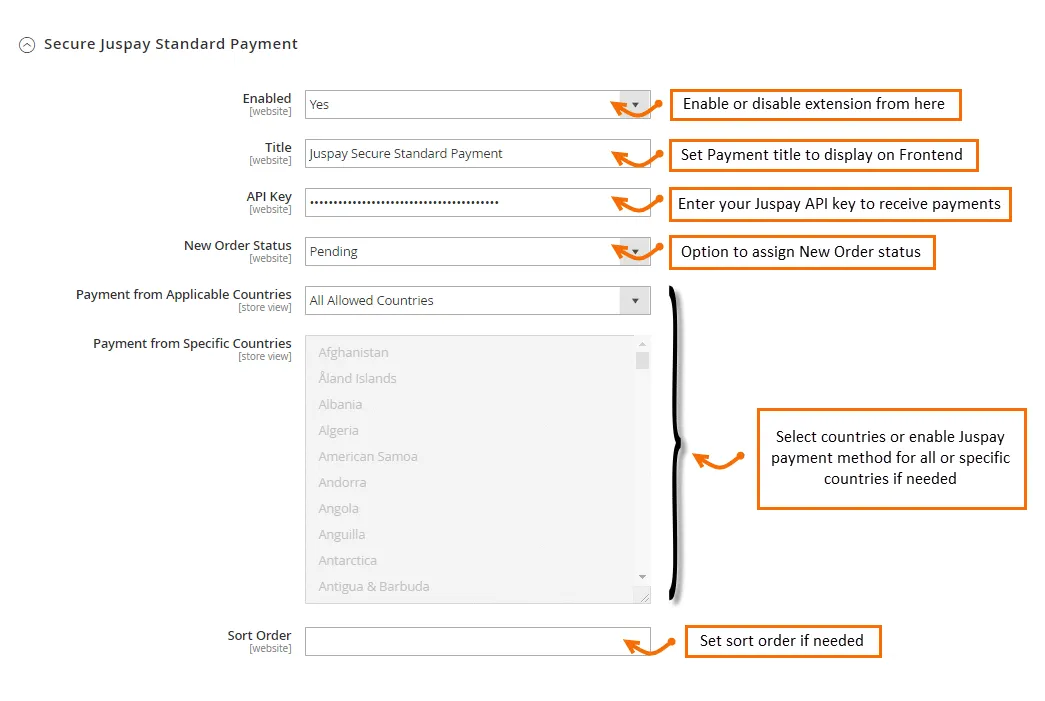
Step 2: After the extension is successfully installed, navigate to Sales > Payment Methods.
- Enabled: From here you can enable the extension for use.
- Title: Give the title of the payment method that will be displayed on the store frontend.
- API Key: Enter the Juspay API key provided to you.
- New Order Status: Assign order status to the new order for here.
- Payment from Applicable Countries: In this field, you will be able to set whether you want to accept payment from all countries or specific countries.
- Payment from Specific Countries: If you have enabled Juspay Extension for specific countries, select countries from this field, for which you want to enable juspay.
- Sort Order: You can assign sort orders to display Proxy Pay on the top of all Payment methods.
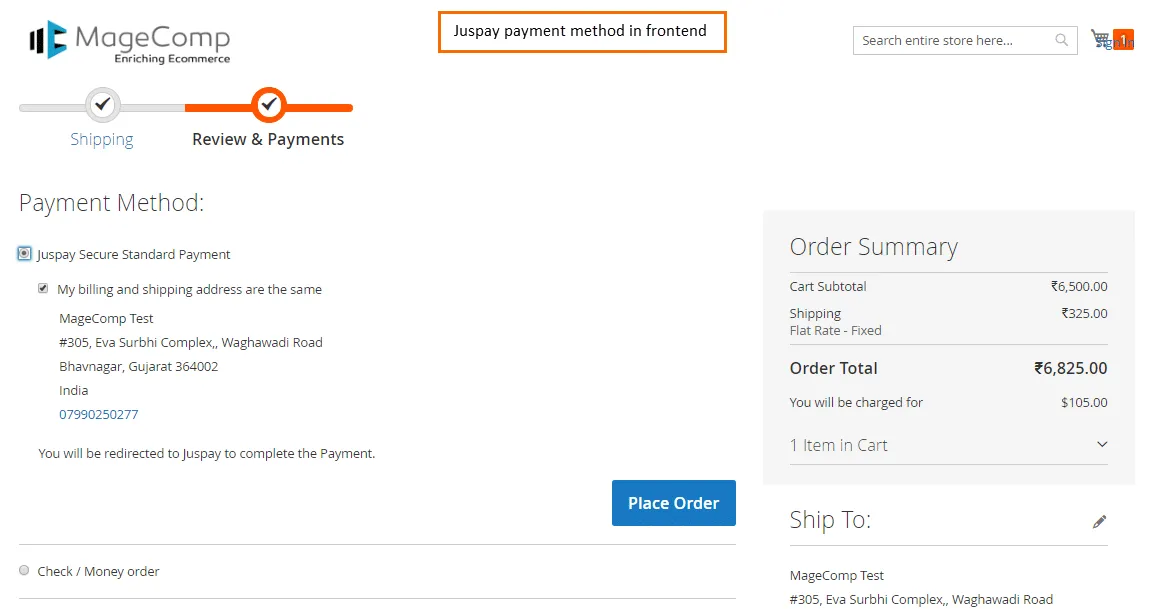
Step 3: Once you are done with the configuration, the Juspay Payment method will be enabled in the frontend and customers can start using it.
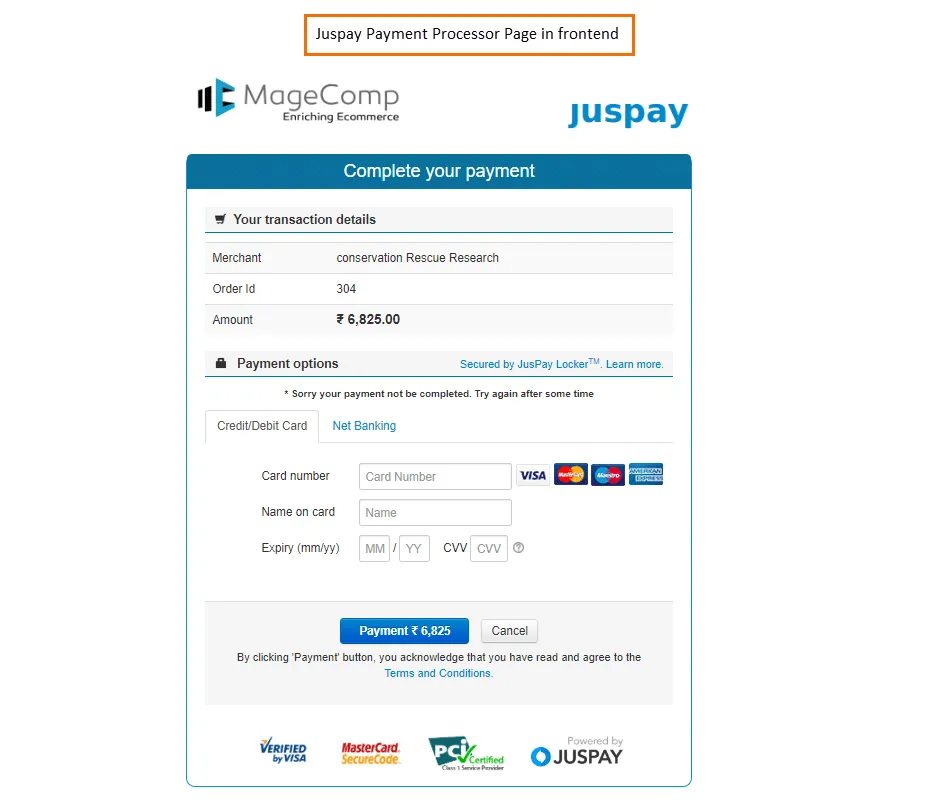
When the customer selects the Juspay Payment method, they will be redirected to the Juspay Payment Provider Page to complete the payment.
Conclusion:
This way you can integrate Juspay Payment Gateway for Magento 2. In case of any queries in the configuration or installation, utilize our Payment Gateway Integration Service where our certified developers will help you make your task easy.
Share this article and stay in the know!
Happy Reading!


