Hello Magento Friends,
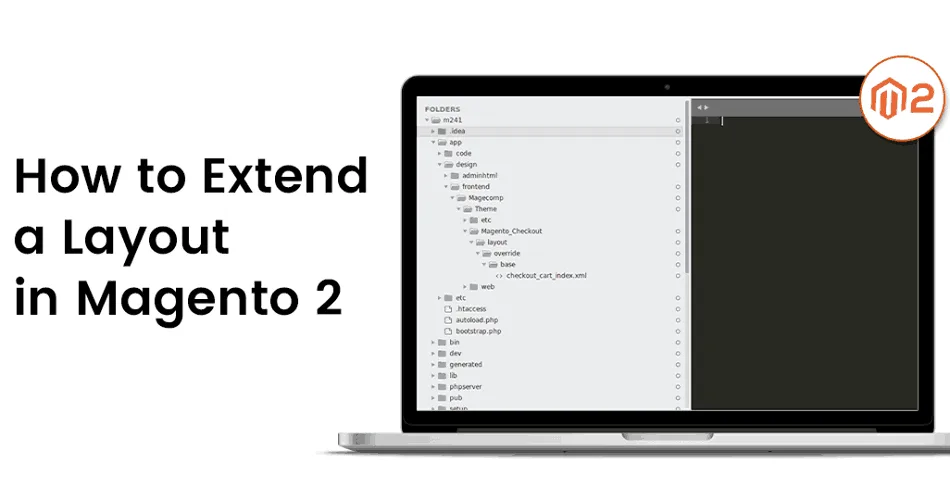
In this Magento Tutorial, I will explain How to Extend a Layout in Magento 2.
The layout represents the structure of a webpage. It is advisable not to change the Magento module and theme layouts, for stability and securing your customizations so that they do not get deleted during the upgrade. To make changes you can extend a layout file in your custom theme of Magento 2. Instead of copying the extensive page layout or page configuration code than making the changes, extending a layout file is a great option.
Let’s learn the steps to Extend a Layout in Magento 2.
Steps to Extend a Layout in Magento 2:
Step 1: Create theme extending file
app/design/frontend/Themes/Yourtheme/Magento_Catalog/layout/catalog_product_view.xml
to
vendor/magento/module-catalog/view/frontend/layout/catalog_product_view.xml
Example :
<?xml version="1.0"?>
<page layout="1column" xmlns:xsi="http://www.w3.org/2001/XMLSchema-instance" xsi:noNamespaceSchemaLocation="urn:magento:framework:View/Layout/etc/page_configuration.xsd">
    <body>
        <move element="product.info.stock.sku" destination="product.info.price" after="product.price.final"/>
    </body>
</page>
Step 2: Processing extending layouts
Magento merges layout files as follows:
For each layout file in the list:
Loads layout handle declaration and layout instructions.
Appends to the result in the following format:
<?xml version="1.0"?>
<layouts xmlns:xsi="http://www.w3.org/2001/XMLSchema-instance">
    <handle id="checkout_cart_index" label="Shopping Cart" type="page" parent="default">
        <!-- Layout instructions from checkout_cart_index.xml -->
    </handle>
    <handle id="checkout_onepage_index" label="One Page Checkout" type="page" parent="default">
        <!-- Layout instructions from checkout_onepage_index.xml -->
    </handle>
    <!-- ... -->
</layouts>
Where a handle ID is defined by the name of the corresponding layout file, and handle attributes are defined by the attributes of the root layout node of this layout file.
Conclusion:
This way you can easily Extend a Layout in Magento 2. If you have any questions, feel free to write in the comment below. Also, ensure that you share the article with your Magento friends. Stay connected for more Magento Tutorials by MageComp.
Happy Reading!


