Hello Magento Friends,
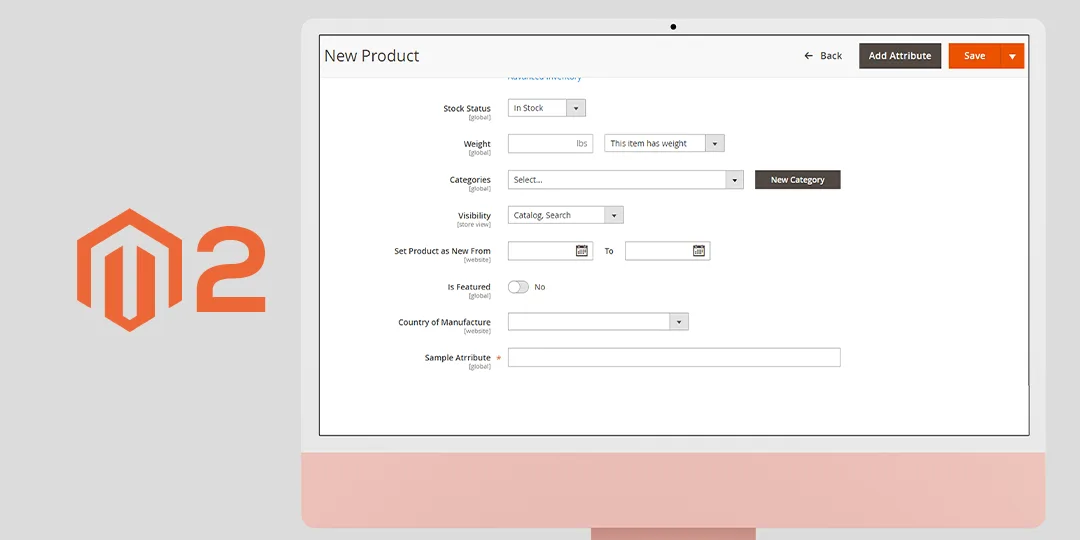
In today’s Magento 2 tutorial, we will learn about How to Apply Custom Product Attribute Validation Programmatically in Magento 2.
While developing an E-commerce store, you receive a lot of data from customers. Adding validation to these data is vital to receive the correct information. In Magento 2, you can create a custom product attribute validation to verify the correct input of the data.
Let’s discover How to Apply Custom Product Attribute Validation Programmatically in Magento 2.
Steps to Apply Custom Product Attribute Validation Programmatically in Magento 2:
Step 1: Create InstallData.php at given below path
app\code\Vendor\Extension\Setup\InstallData.php
Add the below code
<?php
namespace Vendor\Extension\Setup;

use Magento\Eav\Setup\EavSetupFactory;
use Magento\Framework\Setup\InstallDataInterface;
use Magento\Framework\Setup\ModuleContextInterface;
use Magento\Framework\Setup\ModuleDataSetupInterface;
use Magento\Catalog\Model\Product;
use Magento\Eav\Model\Entity\Attribute\ScopedAttributeInterface;

class InstallData implements InstallDataInterface
{
    private $eavSetupFactory;

    public function __construct(EavSetupFactory $eavSetupFactory)
    {
        $this->eavSetupFactory = $eavSetupFactory;
    }

    public function install(ModuleDataSetupInterface $setup, ModuleContextInterface $context)
    {
        $eavSetup = $this->eavSetupFactory->create(['setup' => $setup]);
        $eavSetup->addAttribute(
            Product::ENTITY,
            'attribute_code',
            [
                'type' => 'text',
                'backend' => '',
                'frontend' => '',
                'group' => 'General',
                'label' => 'Attribute Label',
                'input' => 'text',
                'frontend_class' => 'validate-greater-than-zero validate-digits',
                'class' => '',
                'source' => '',
                'sort_order' => 100,
                'global' => ScopedAttributeInterface::SCOPE_STORE,
                'visible' => true,
                'required' => false,
                'user_defined' => false,
                'default' => '',
                'searchable' => false,
                'adminhtml_only' => true,
                'filterable' => true,
                'comparable' => true,
                'is_used_in_grid' => true,
                'is_visible_in_grid' => true,
                'is_filterable_in_grid' => true,
                'is_searchable_in_grid' => true,
                'visible_on_front' => false,
                'used_in_product_listing' => true,
                'unique' => false,
                'apply_to' => ''
            ]
        );
    }
}
Step 2: Create di.xml at the below path
app\code\Vendor\Extension\etc\di.xml
Now, add the below code
<?xml version="1.0"?>
<config xmlns:xsi="http://www.w3.org/2001/XMLSchema-instance" xsi:noNamespaceSchemaLocation="urn:magento:framework:ObjectManager/etc/config.xsd">
    <type name="Magento\Catalog\Ui\DataProvider\CatalogEavValidationRules">
        <plugin name="vendor_custom_validation_for_extension_product_attribute" type="Vendor\Extension\Plugin\Product\Validationrules"/>
    </type>
</config>
Step 3: Create Validationrules.php at the following path
app\code\Vendor\Extension\Plugin\Product\Validationrules.php
And, add the code as follows
<?php
namespace Vendor\Extension\Plugin\Product;

use Magento\Catalog\Ui\DataProvider\CatalogEavValidationRules;
use Closure;
use Magento\Catalog\Api\Data\ProductAttributeInterface;

class Validationrules
{
    public function aroundBuild(
        CatalogEavValidationRules $rulesObject,
        Closure $proceed,
        ProductAttributeInterface $attribute,
        array $data
    ){
        $rules = $proceed($attribute,$data);
        if($attribute->getAttributeCode() == 'attribute_code'){
            //custom filter
            $validationClasses = explode(' ', $attribute->getFrontendClass());
            foreach ($validationClasses as $class) {
                $rules[$class] = true;
            }
        }
        return $rules;
    }
}
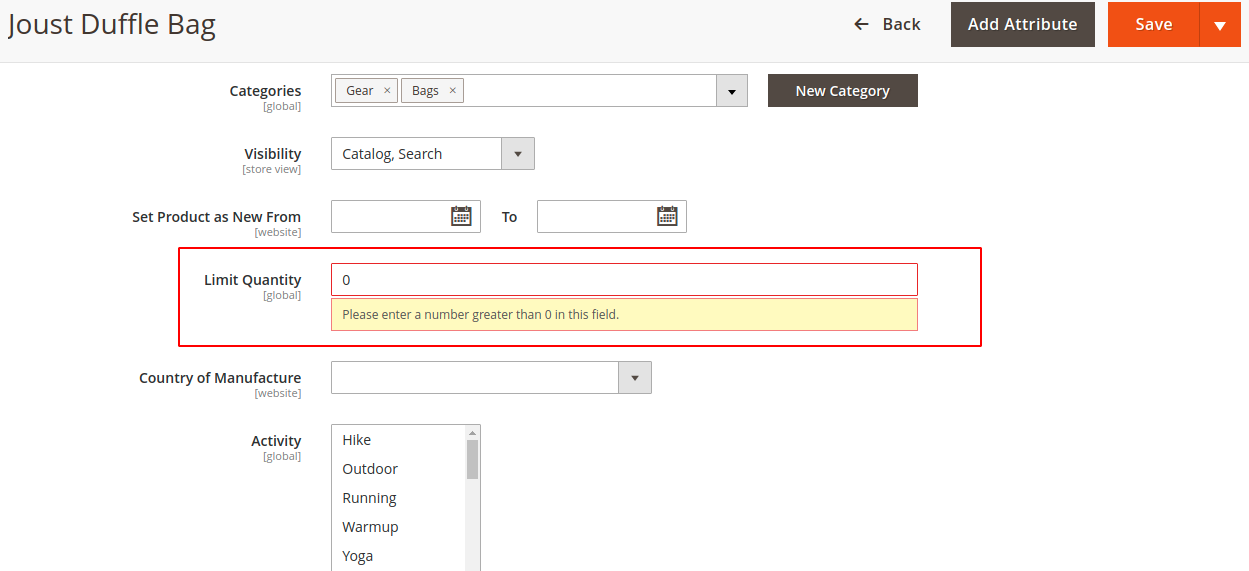
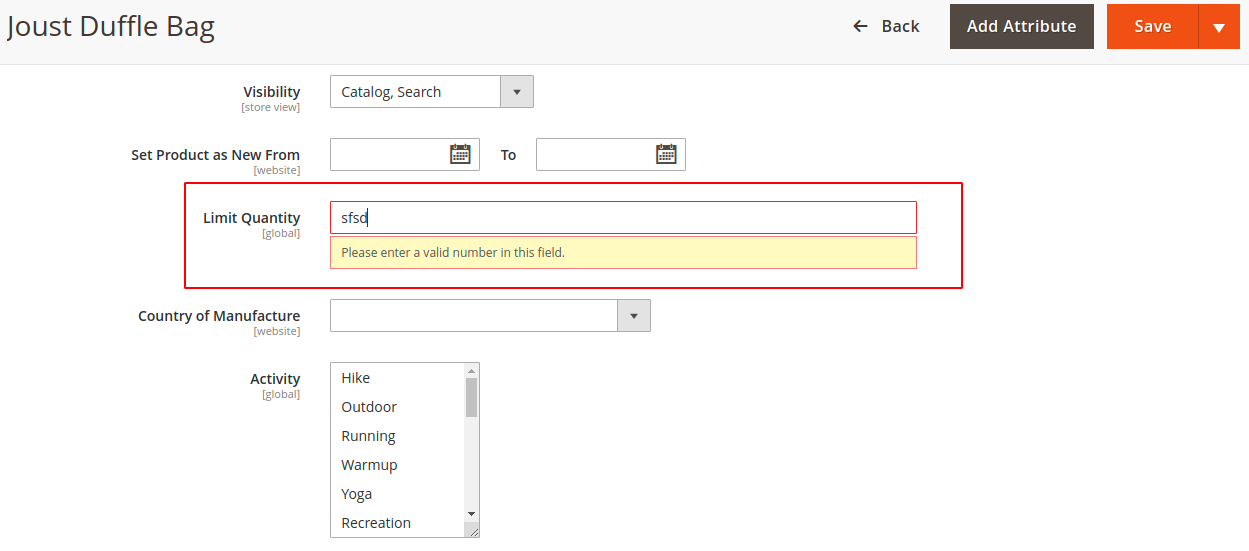
Output:
Validation message when 0 is entered on custom product attribute
Validation message when input is other than the numeric value on custom product attribute
Conclusion:
Hence, in this manner, you can successfully Apply Custom Product Attribute Validation Programmatically in Magento 2. Besides this, Magento 2: How to Add Custom Validation Rule in knockout Validation Rules.
If you face any difficulty with the execution of the above code, share the issues with me via the comment box. If you found the solution helpful, hit those 5 stars and share the article amongst others. Stay in the know for more updates.
Happy Coding


saved my life