Hello Magento Friends,
In this article, I will help you all to secure your Magento 2 store from the attackers and hackers configuring Security Scan in Magento 2. Check out our previous blog How to Secure your Magento 2.x Store for advanced security for your Magento 2 store. Let’s check out How to configure Security Scan in Magento 2.
Introduction:
There are a lot of transaction data on the stores globally. Magento helping their store owners to prevent the attacks and hackers by providing the Security Scan tool. Magento 2 security tool is totally free and the tool is also capable of tracking the latest patch updates/upgrades. This will help to secure your store from online hackers and attackers.
Steps to Configure Security Scan in Magento 2:
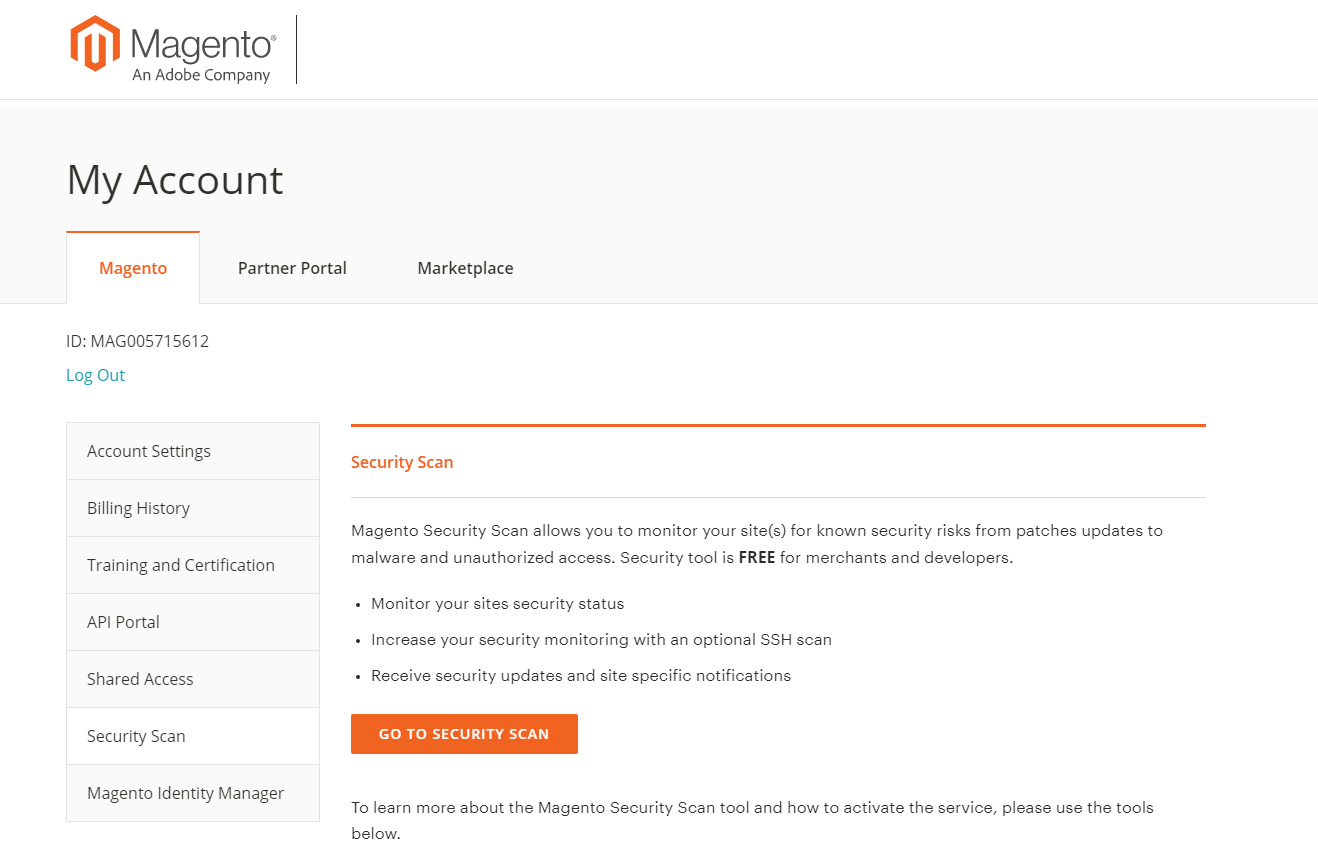
Step 1: Enable Security Scan in Magento 2 account by signing in to your Magento account and select Security Scan.
Tap on the Go to Security Scan. Read and accept the Terms and Conditions respectively.
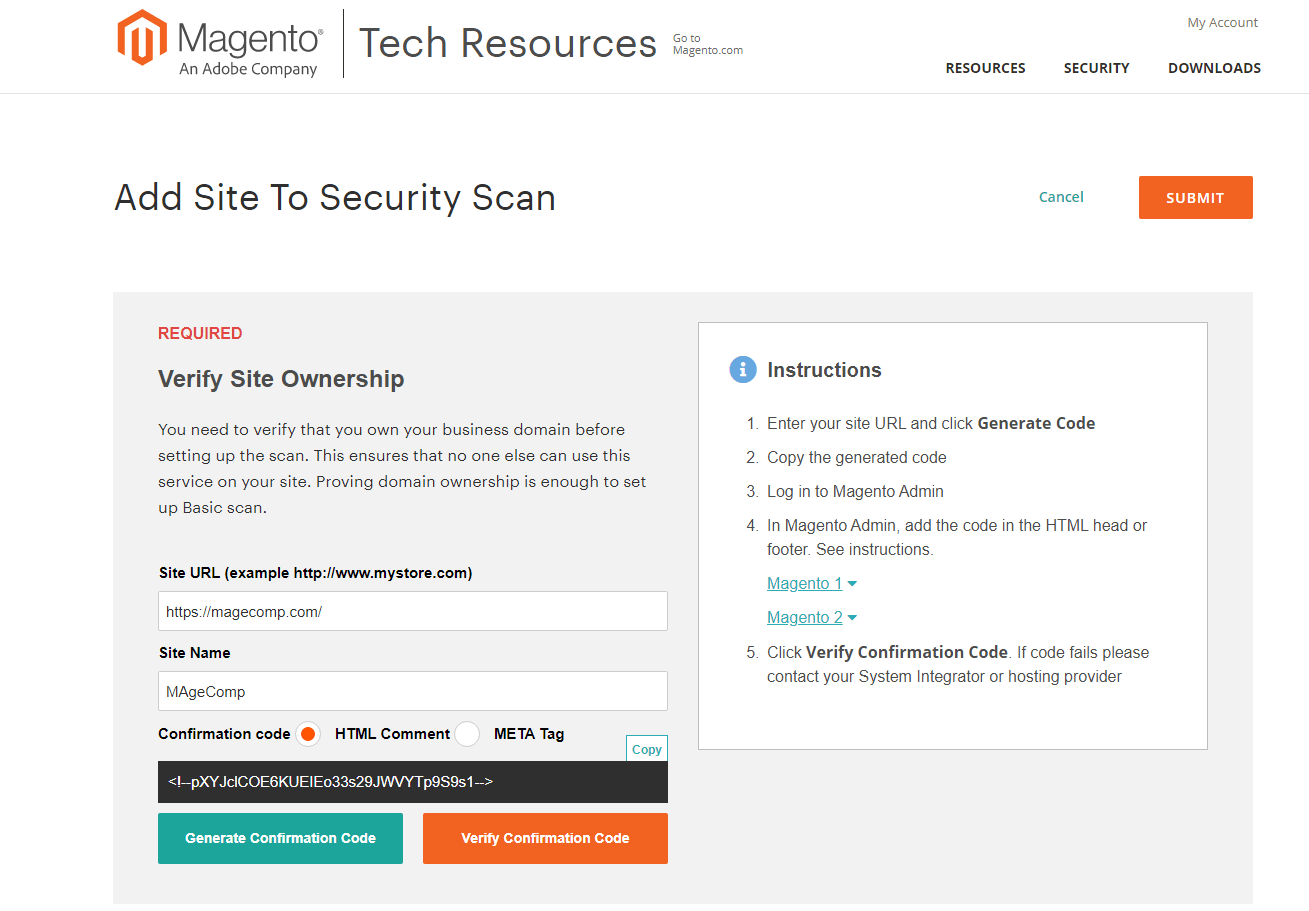
Step 2: Now, Verify possession of your domains
Now, the admin will have to add the URL of the site and tap to generate the Confirmation code. Copy the code.
After this navigate to Content>Design>Configuration search for your site and edit.
Explore the HTML Head>Scripts and Style Sheets. Now you will need to paste the copied code here.
Save the Config.
Now tap on the Verify Confirmation Code from the Security Scan page
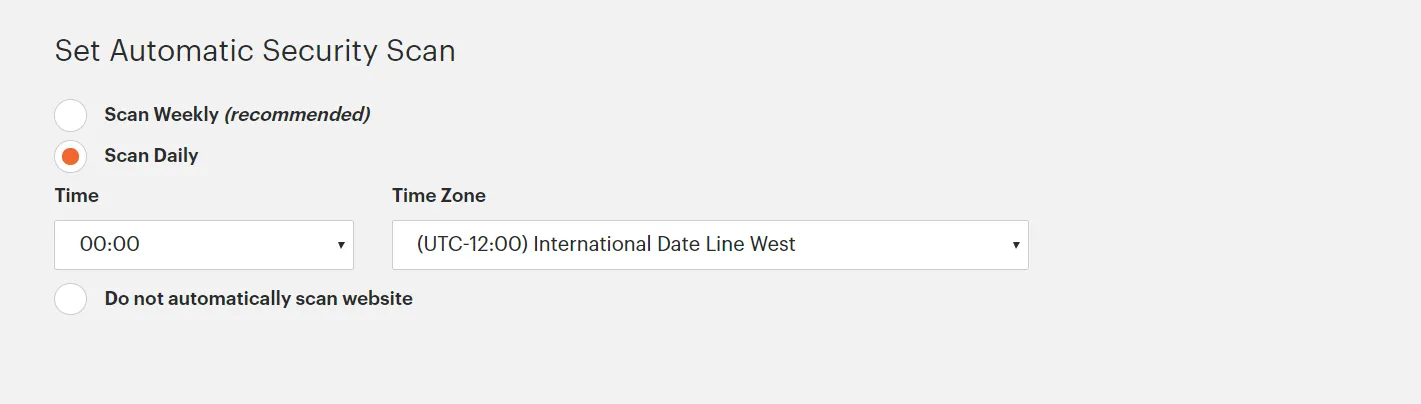
Step 3: Schedule Security Scan program
It provides 2 modes for this you can select as per your requirement.
Scan Weekly: Admin will need to set Day of the week, Time and Timezone so that the site will be weekly scanned.
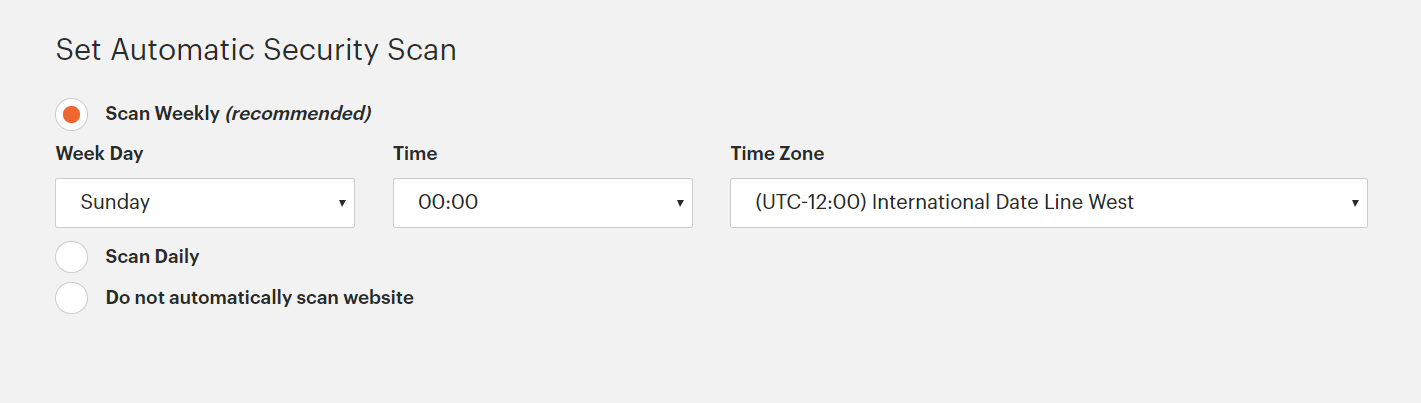
Scan Daily: Admin will need to select a precise time and timezone to schedule scanning daily.
Now enter the mail id for receiving automatic email notifications.
Lastly, tap to Submit.
Conclusion:
Hopefully, with the above tutorial, you are able to secure your Magento 2 store. In case of any casualties in the above solution let me know in the comment section below.
Don’t forget to share the article with your Magento friends by utilizing social media platforms.
Happy Reading.