Hello Magento Friends,
In today’s blog, I will explain How to Add Tooltip in Checkout Shipping Field in Magento 2.
Tooltips are used to provide additional information especially about clarifying the input requirement or explaining specific options. Adding tooltips to checkout fields in Magento 2 helps in a smooth checkout process and improves user experience with the right guidance. Checkout errors are reduced as the user gets the required information.
Let’s find out how you can add a tooltip in the checkout shipping field in Magento 2.
Steps to Add Tooltip in Checkout Shipping Field in Magento 2:
Step 1: Create a di.xml file in the given below path.
{{magento_root}}\app\code\Vendor\Extension\etc\di.xml
Now add the code as follows
<?xml version="1.0"?>
<config xmlns:xsi="http://www.w3.org/2001/XMLSchema-instance" xsi:noNamespaceSchemaLocation="urn:magento:framework:ObjectManager/etc/config.xsd">
    <type name="Magento\Checkout\Block\Checkout\LayoutProcessor">
        <plugin name="Custom_Checkout" type="Vendor\Extension\Plugin\LayoutProcessor" sortOrder="100"/>
    </type>
</config>
Step 2: Create a LayoutProcessor.php in path given below.
{magento_root}}\app\code\Vendor\Extension\Plugin\LayoutProcessor.php
Now add the following code
<?php

namespace Vendor\Extension\Plugin;

class LayoutProcessor
{
    public function afterProcess(
        \Magento\Checkout\Block\Checkout\LayoutProcessor $subject,
        array $jsLayout
    ) {
        $jsLayout['components']['checkout']['children']['steps']['children']['shipping-step']['children']
    ['shippingAddress']['children']['shipping-address-fieldset']['children']['lastname']['tooltip']['description'] = "Enter your last name here.";
        return $jsLayout;
    }
}
Output:
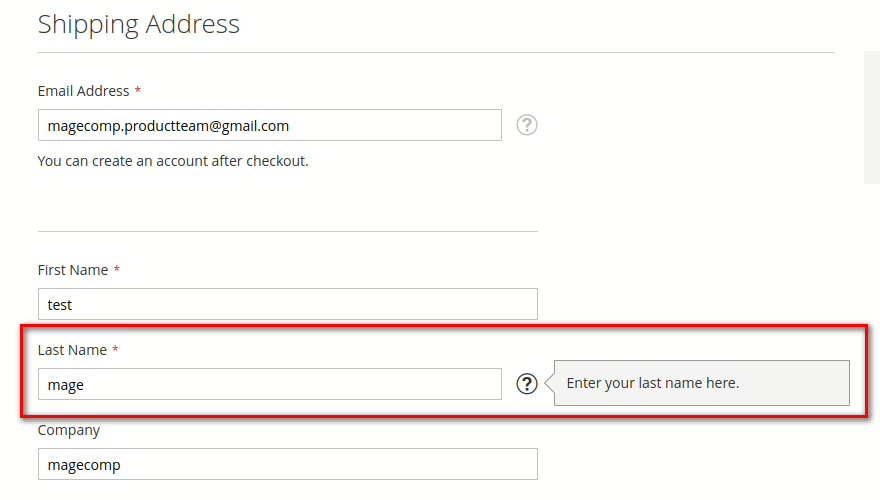
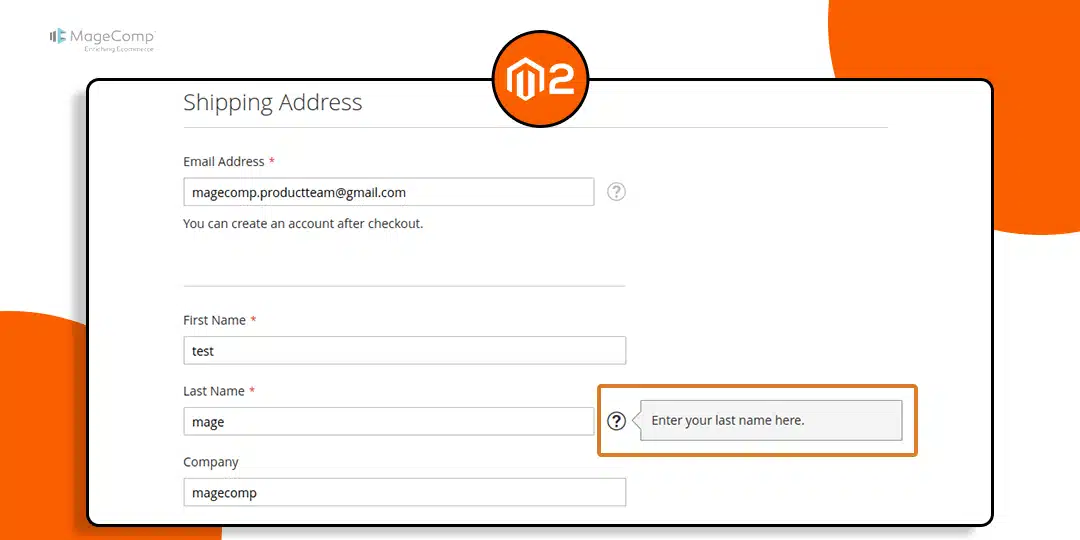
After implementing the above steps, navigate to the checkout page and hover the tooltip icon (?) and you can see the tooltip message.

Conclusion:
This way you can add tooltips to checkout fields in Magento 2. You can further customize these steps to add them to other fields. If you face any difficulty, share it with me through the comment section. Further, share the tutorial with your Magento friends to help them customize the checkout in Magento 2.
Happy Coding!


