Hello Magento Friends,
In today’s blog, we are going to learn How to Get Layout Arguments Value in phtml File in Magento 2.
Layout arguments serve as a means of passing data from XML layout files to template files (.phtml). They provide a mechanism for dynamically configuring the behavior and appearance of frontend components. To access layout argument values within a .phtml file, follow the below steps.
Steps to Get Layout Arguments Value in phtml File in Magento 2:
Step 1: Create “default.xml” file inside the Extension view folder.
app\code\Vendor\Extension\view\frontend\layout
Then add the code as follows
<?xml version="1.0"?>
<page layout="1column" xmlns:xsi="http://www.w3.org/2001/XMLSchema-instance" xsi:noNamespaceSchemaLocation="urn:magento:framework:View/Layout/etc/page_configuration.xsd">
    <body>
      <referenceContainer name="content">
             <block class="Magento\Framework\View\Element\Template" name="custom.text" template="Vendor_Extension::custom-text.phtml" after="-">
                 <arguments>
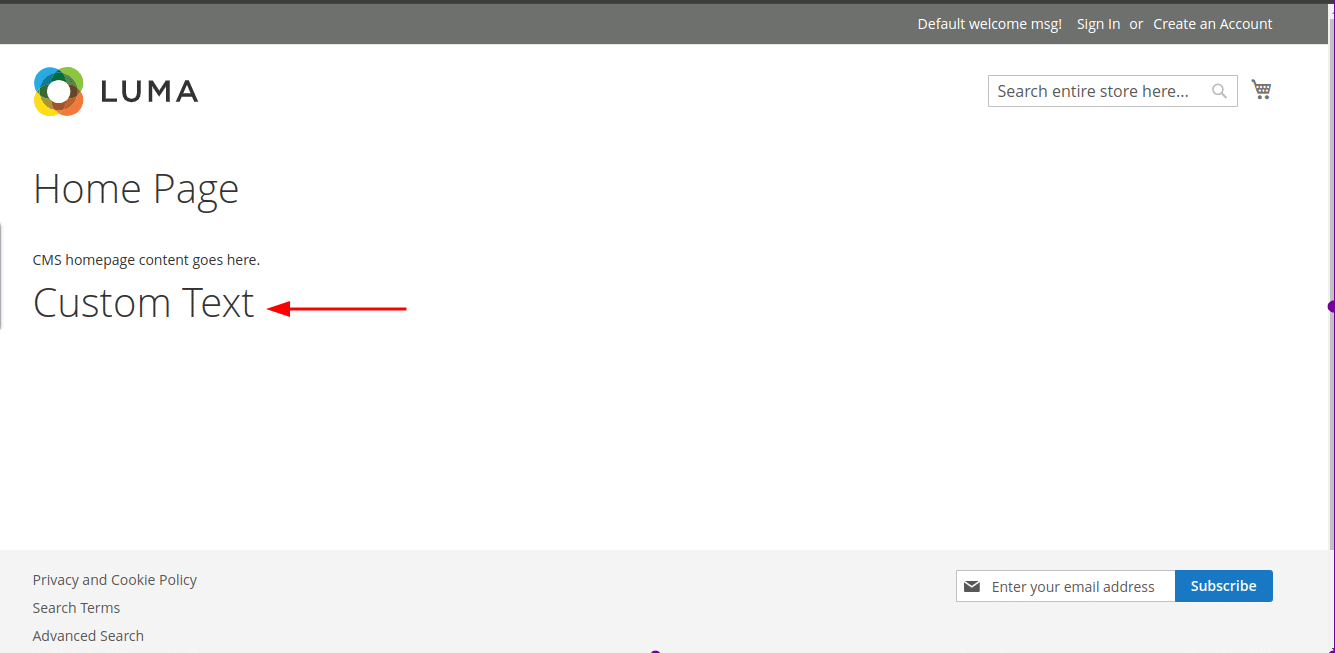
                     <argument name="main_page_title" xsi:type="string">Custom Text</argument>
                 </arguments>
             </block>
         </referenceContainer>
    </body>
</page>
Step 2: Now, create a “custom-text.phtml” file inside the Extension view folder.
app\code\Vendor\Extension\view\frontend\templates
Then add the code as mentioned below
<?php
$page_title = $block->getData('main_page_title');
echo "<h1>".$page_title."</h1>";
?>
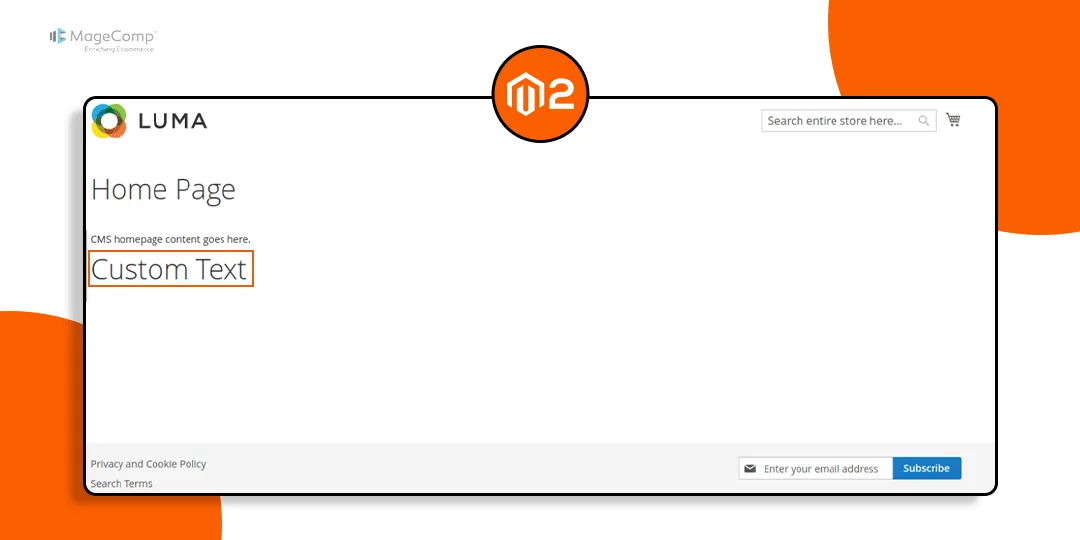
Output:

Conclusion:
Effectively retrieving layout argument values in Magento 2 is fundamental to customizing and enhancing your store’s frontend functionality. By understanding the structure of layout XML files and utilizing the appropriate methods within .phtml templates, Magento developers can seamlessly access and leverage data passed through layout arguments.
Share the tutorial with your friends, and stay updated with us for more such Magento 2 solutions.
Happy Coding!


