
Hello Magento Friends,
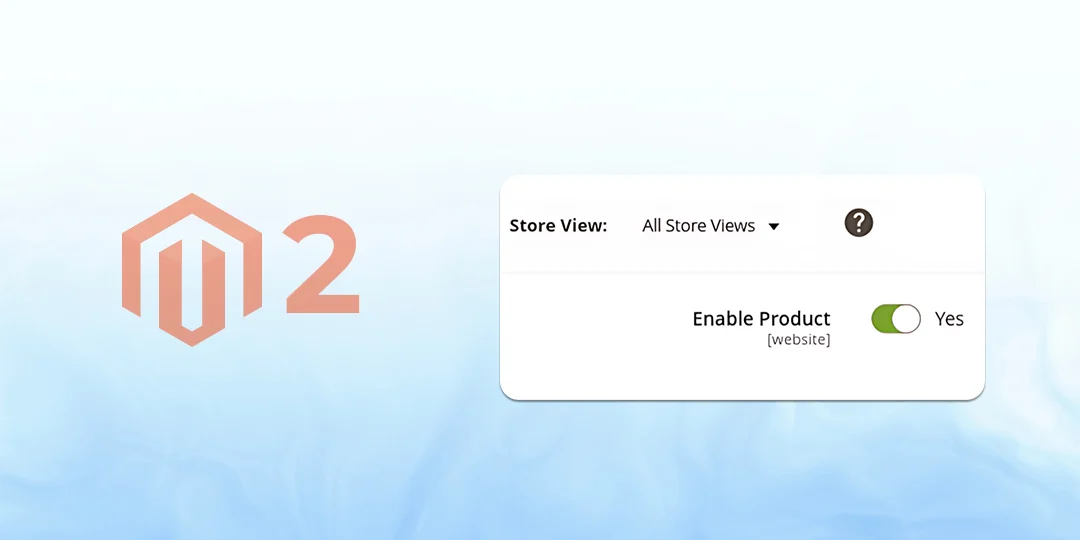
Magento 2 provides a well-built system configuration functionality in the admin, which allows developers to create flexible and dynamic configurations for modules and extensions. A common UI requirement includes a toggle button (Yes/No switch) for admin users to easily enable or disable functionality.

In this blog post, we will show you how to add a toggle button to a Magento 2 admin configuration.
Steps to Add Toggle Button in Magento 2 Admin Configuration
Step 1: Create the system.xml file at the given file path.
{{magento_root}}\app\code\Vendor\Extension\etc\adminhtml\system.xml
Then add the code as follows
<?xml version="1.0"?>
<config xmlns:xsi="http://www.w3.org/2001/XMLSchema-instance"
        xsi:noNamespaceSchemaLocation="urn:magento:module:Magento_Config:etc/system_file.xsd">
    <system>
        <tab id="vendor" translate="label" class="vendor" sortOrder="100">
            <label>vendor</label>
        </tab>
        <section id="extension" translate="label" type="text" sortOrder="40" showInDefault="1" showInWebsite="1"
                 showInStore="1">
            <class>separator-top</class>
            <label>Extension</label>
            <tab>vendor</tab>
            <resource>Vendor_Extension::config_extension</resource>
            <group id="general" translate="label" type="text" sortOrder="20" showInDefault="1" showInWebsite="1"
                   showInStore="1">
                <label>Configuration</label>
                <field id="status" type="checkbox" translate="label" sortOrder="104" showInDefault="1" showInWebsite="1" 		showInStore="0">
		    <frontend_model>Vendor\Extension\Block\Adminhtml\System\Config\Advanced</frontend_model>
		    <attribute type="shared">1</attribute>
		</field>
            </group>
        </section>
    </system>
</config>
Step 2: Create the Advanced.php file at the below path
{{magento_root}}\app\code\Vendor\Extension\Block\Adminhtml\System\Config\Advanced.php
After that, add the following code
<?php

namespace Vendor\Extension\Block\Adminhtml\System\Config;

class Advanced extends \Magento\Config\Block\System\Config\Form\Field
{
    /**
     * Template path
     *
     * @var string
     */
    protected $_template = 'system/config/advance/check.phtml';

    /**
     * Render fieldset html
     *
     * @param \Magento\Framework\Data\Form\Element\AbstractElement $element
     * @return string
     */
    public function render(\Magento\Framework\Data\Form\Element\AbstractElement $element)
    {
        return $this->_decorateRowHtml($element, "<td class='label'>Label Text</td><td>" . $this->toHtml() . '</td><td></td>');
    }
}
Step 3: Create a check.phtml file at the below-mentioned file path
{{magento_root}}\app\code\Vendor\Extension\view\adminhtml\templates\system\config\advance\check.phtml
Now include the below code
<script>
function myFunction() {
if(document.getElementById('spa').classList.contains("slider")) {
document.getElementsByClassName("slider")[0].setAttribute("class","sliderOne round");
document.getElementById('toggle').innerHTML = " No";
}else{
document.getElementsByClassName("sliderOne")[0].setAttribute("class","slider round");
document.getElementById('toggle').innerHTML = " Yes";
}
}
</script>
<label class="switch">
<input type="checkbox" onclick="myFunction()" checked>
<span class="slider round" id="spa"></span>
</label>
<span id="toggle"></span>Step 4: Create _module.less file at the path given below
{{magento_root}}\app\code\Vendor\Extension\view\adminhtml\web\css\source\_module.less
Then add the following line
@import 'module/_config.less';Step 5: Create _config.less file at the below path.
{{magento_root}}\app\code\Vendor\Extension\view\adminhtml\web\css\source\module\_config.less
Then add the following piece of code
.switch {
    position: relative;
    display: inline-block;
    width: 37px;
    height: 22px;
    vertical-align: middle;

    input {
        opacity: 0;
        width: 0;
        height: 0;
    }

    .slider,
    .sliderOne {
        position: absolute;
        cursor: pointer;
        top: 0;
        left: 0;
        right: 0;
        bottom: 0;
        background-color: #ccc;
        -webkit-transition: .4s;
        transition: .4s;
        vertical-align: middle;

        &:before {
            position: absolute;
            content: "";
            height: 22px;
            width: 22px;
            bottom: 0px;
            background-color: white;
            -webkit-transition: .4s;
            transition: .4s;
            vertical-align: middle;
        }

        &.slider:before {
            left: -7.75px;
        }

        &.sliderOne:before {
            left: .5px;
        }

        &.round {
            border-radius: 35px;

            &:before {
                border-radius: 100%;
                display: inline-block;
            }
        }
    }

    input:checked + .slider,
    input:checked + .sliderOne {
        background-color: #79a22e;

        &:before {
            -webkit-transform: translateX(22px);
            -ms-transform: translateX(22px);
            transform: translateX(22px);
        }
    }

    input:focus + .slider,
    input:focus + .sliderOne {
        box-shadow: 0 0 0px #2196F3;
    }
}
Conclusion:
Adding a toggle (Yes/No) button in Magento 2 system configuration enhances admin usability and makes configuration management much easier. This is especially useful for enabling or disabling custom features without touching the codebase.

Happy Coding!
FAQ
- What is a toggle button in Magento 2 admin settings?
A toggle button is a simple switch in the Magento admin configuration that acts as a Yes/No switch to allow store owners to turn various features or settings on or off.
- What are common use cases for toggle buttons in admin config?
- Enabling/Disabling Custom Features
- Turning on maintenance mode
- Turning on debug or logging modes
- Toggle displaying blocks or widgets
- Why would I use a toggle button in admin configuration?
A toggle button can allow store admins to quickly and easily toggle on or off various features like enabling modules, displaying blocks, or activating promotions, etc., without the need to change any code.
- Do I need coding knowledge to add a toggle button?
Yes, you will need to edit Magento configuration files to create a toggle button. If you don’t have a developer, I would suggest getting one.


