
Hello Magento Friends,
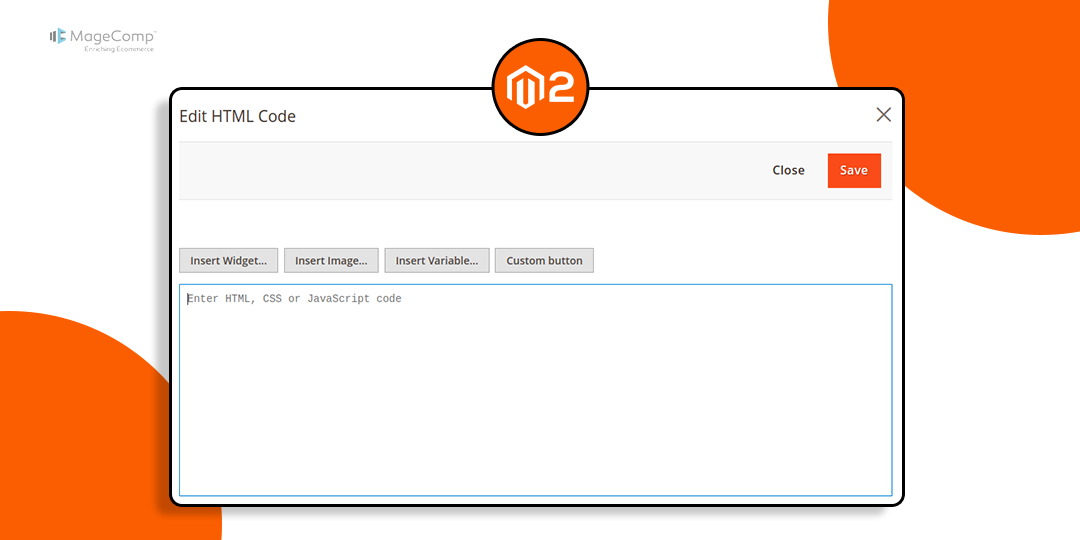
Magento 2’s Page Builder is a powerful tool for merchants and developers to create rich, engaging content without writing code. The default Page Builder looks like
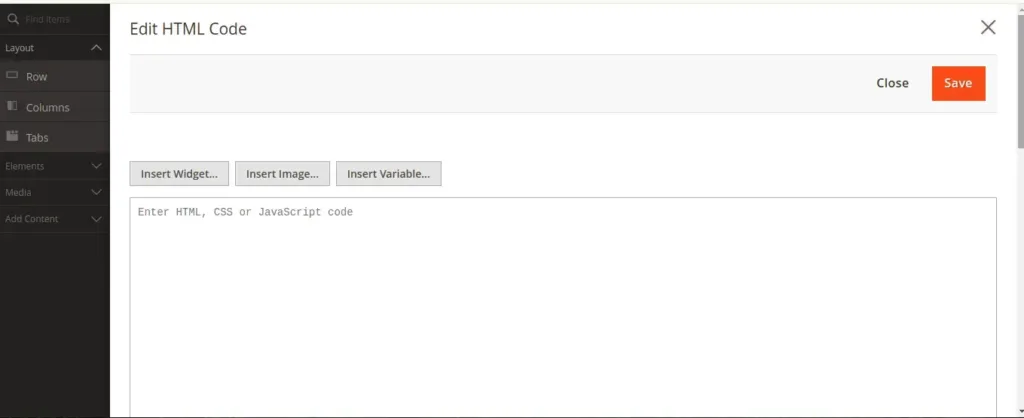
However, there may be cases when the default set of content types doesn’t fit your requirements—especially if you want to include custom-styled buttons with unique functionality.
In this blog, we’ll walk you through the steps to add a custom button in Magento 2 Page Builder.

Steps to Add a Custom Button in Magento 2 Page Builder:
Step 1: Create the requirejs-config.js file at the given file path below.
{{magento_root}}\app\code\Vendor\Extension\view\adminhtml\requirejs-config.js
Then add the following code
var config = {
    config: {
        mixins: {
            'Magento_PageBuilder/js/form/element/html-code': {
                'Vendor_Extension/js/form/element/html-code-mixin': true
            }
        }
    }
};
Step 2: Create the html-code-mixin.js file in the path given below.
{{magento_root}}\app\code\Vendor\Extension\view\adminhtml\web\js\form\element\html-code-mixin.js
After that, add the following code snippet
define([
    'Magento_Ui/js/modal/alert'
], function (alert) {
    'use strict';

    return function (HtmlCode) {
        return HtmlCode.extend({
            initialize: function () {
                this._super();
                // Set custom template
                this.elementTmpl = 'Vendor_Extension/form/element/html-code-custom';
                return this;
            },

            clickCustombutton: function () {
                alert({
                    content: 'Custom button clicked!'
                });
                return;
            }
        });
    };
});
Step 3: Create the html-code-custom.html file in the following path.
{{magento_root}}\app\code\Vendor\Extension\view\adminhtml\web\template\form\element\html-code-custom.html
Now add the code as follows
<div class="admin__control-wysiwig">
    <div class="buttons-set">
        <button type="button" class="scalable action-add-widget plugin" click="clickInsertWidget">
            <span><span><span translate="'Insert Widget...'"></span></span></span>
        </button>
        <button type="button" class="scalable action-add-image plugin" click="clickInsertImage">
            <span><span><span translate="'Insert Image...'"></span></span></span>
        </button>
        <button type="button" class="scalable add-variable plugin" click="clickInsertVariable">
            <span><span><span translate="'Insert Variable...'"></span></span></span>
        </button>
        <!-- Your custom button -->
        <button type="button" class="scalable add-variable plugin" click="clickCustombutton">
            <span><span><span translate="'Custom button'"></span></span></span>
        </button>
    </div>
</div>

<textarea class="admin__control-textarea" data-bind="
    value: value,
    valueUpdate: valueUpdate,
    hasFocus: focused,
    attr: {
        name: inputName,
        cols: cols,
        rows: rows,
        'aria-describedby': noticeId,
        placeholder: placeholder,
        id: uid,
        disabled: disabled
    }"
></textarea>
Output:
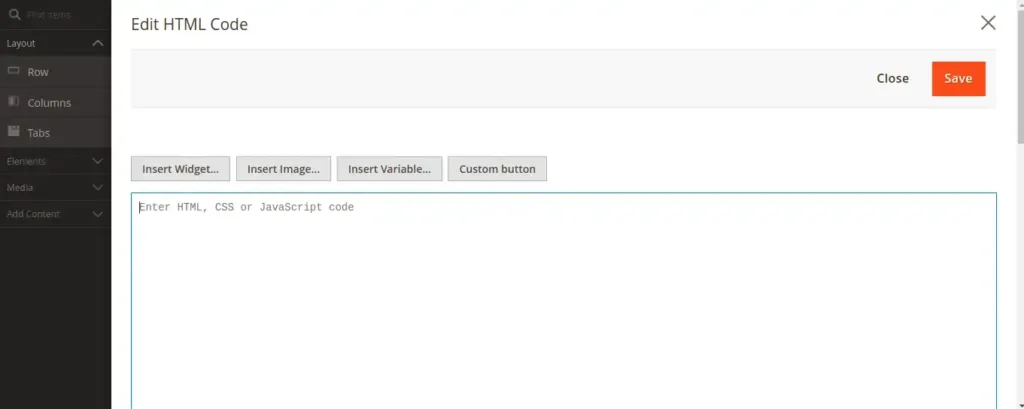
A custom button is added to Page Builder in Magento 2.
Conclusion:
Adding a custom button to Magento 2 Page Builder empowers you to offer a personalized experience for merchants and marketers. Whether it’s styled differently or performs a unique action, a custom button opens doors to enhanced functionality without needing core overrides.

If you want to integrate advanced custom content types in Magento 2 Page Builder, MageComp is here to help. From custom development to UI enhancements, we do it all!


