Hello Laravel Friends,
I am here with yet another important subject. Today it’s about the Blade Template in Laravel.
The blade is a powerful templating engine that is included with Laravel. Blade template files use the .blade.php file extension and are typically stored in the resources/views directory. To create Blade Template, you just need to create a view file with .blade.php extension instead of .php extension.
Blade helps us to create a master template that other files can extend, and this is its main advantage.
Contents
You may display a variable that is passed to your Blade views by wrapping the variable in curly braces.
For example, given the following route:
Route::get('/', function () {
    return view('welcome', ['name' => 'Magecomp']);
});
You may display the contents of the name variable like the following:
Hello, {{ $name }} Javascript frameworks also use “curly” braces to indicate a given expression should be displayed in the browser, you use @ symbol to inform the Blade rendering engine never to touch.
<h1>Laravel</h1>
Hello, @{{ name }}
Blade templates also provide some standard PHP control structures, such as conditional statements and loops. These shortcuts provide an immaculate, terse way of working with PHP control structures while remaining familiar with their PHP counterparts.
You may construct if statements using the @if, @elseif, @else, and @endif directives. These directives function identically to their PHP counterparts:
<!DOCTYPE html>
<html lang="en">
<head>
<meta charset="UTF-8">
<meta http-equiv="X-UA-Compatible" content="IE=edge">
<meta name="viewport" content="width=device-width, initial-scale=1.0">
<title>Laravel Blog</title>
</head>
<body>
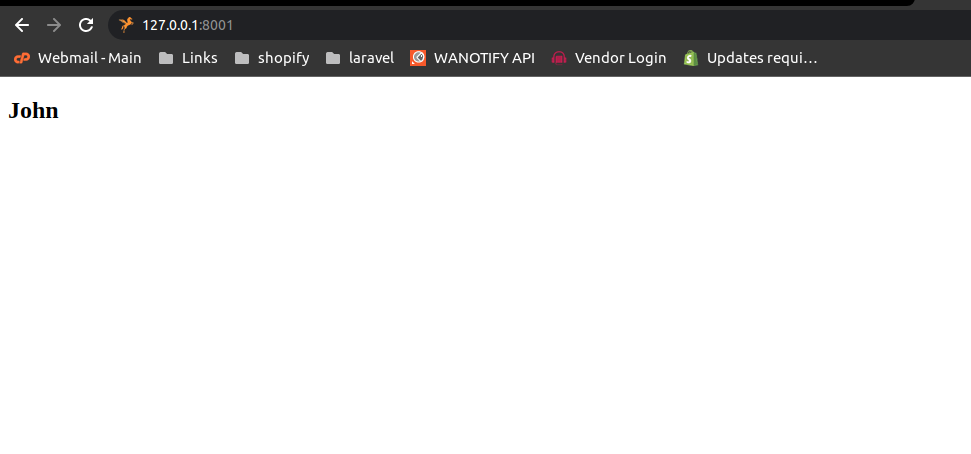
@if(Auth::user() )
{{Auth::user()->first_name;}}
@else
Guest User
@endif
</body>
</html> Output:
You may also use the @unless directive to reverse of if statement.
For example:
@unless (Auth::check())
    You are not signed in.
@endunless In addition to conditional statements, Blade provides simple directives for working with PHP’s loop structures. Each of these directives functions identically to its PHP counterparts. When using loops, you may also end the loop or skip the loop using the @continue and @break directives. It works the same as the “continue” and “break” of the PHP common loop.
<?php
namespace App\Http\Controllers;
use Illuminate\Http\Request;
class BlogController extends Controller
{
public function index()
{
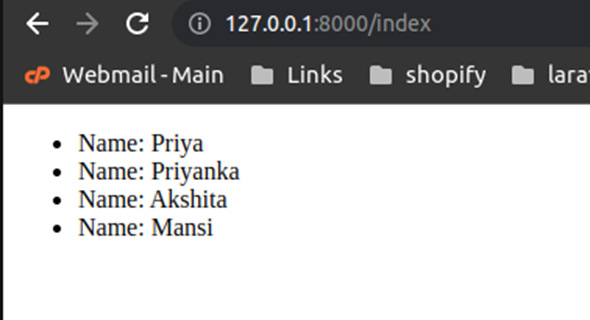
return view('index', ['users'=>['Priya','Priyanka','Akshita','Mansi']]);
}
} <!DOCTYPE html>
<html lang="en">
<head>
<meta charset="UTF-8">
<meta http-equiv="X-UA-Compatible" content="IE=edge">
<meta name="viewport" content="width=device-width, initial-scale=1.0">
<title>Laravel Blog</title>
</head>
<body>
<ul>
@foreach($users as $user)
<li> Name: {{$user}} </li>
@endforeach
</ul>
</body>
</html> Output:
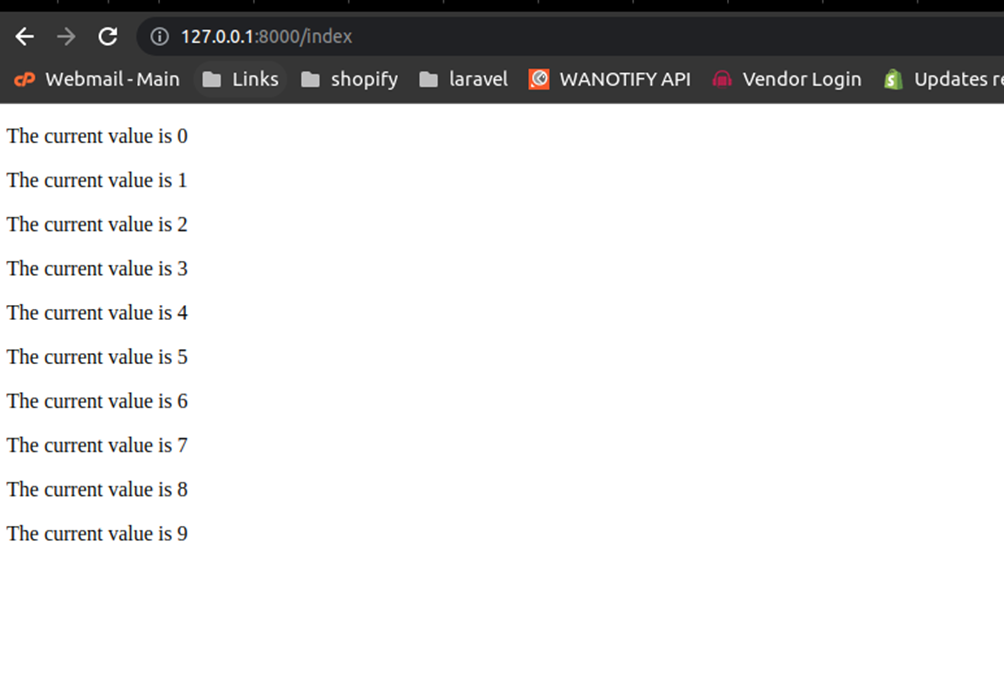
You can use the for loop of common php structure using @for, @endfor Blade directives.
@for ($i = 0; $i < 10; $i++)
    The current value is {{ $i }}
@endfor
Output:
In the Blade template, you can use the switch statements using the @switch, @case, @break, @default, and @endswitch directives.
Example –
@switch($i)
    @case(1)
        First case...
        @break

    @case(2)
        Second case...
        @break

    @default
        Default case...
@endswitch In some cases, you may need to include some other view file. You can archive using the @include directive.
Example –
Create a header.blade.php file that includes that file in your layout.
<div>
    @include('header')

    <form>
        <!-- Form Contents -->
    </form>
</div> This was all about the Blade template in Laravel. Learn How to Create Blade Template Layout in Laravel.
If you have any doubts, share them with me through the comment section. Share the article with your friends and stay in touch with us to learn more about the Laravel framework.
Happy Coding!
Hello Magento Friends, In this blog, we will discuss about adding quantity increment and decrement…
In this guide, we'll explore how to integrate ChatGPT, an AI-powered chatbot, with a Laravel…
In the world of business, understanding financial metrics is crucial for making informed decisions and…
Welcome to the MageComp Monthly Digest, where we bring you the latest updates, releases, and…
In this era, businesses are always on the lookout for ways to engage with their…
Managing a Shopify store efficiently involves keeping your product catalog organized. This includes removing outdated…