Hola, Shopify Amigos!
We meet again with a new Shopify Tutorial!
So without any further ado, let us roll the intro. 🥁
We are familiar with different kinds of web pages like the Contact Us page, About Us page, Shipping Policy page, etc. We are going to learn to create new pages in Shopify stores like them.
Having webpages with high-quality content in Shopify page establishes your website’s credibility and authority in its field. When users find valuable and reliable information on your webpage, they are more likely to trust your website and business as well, return for future visits, share the content with others, and enhance its overall online presence.
Let us start the steps to add a new page to your Shopify store.
Step 1 –
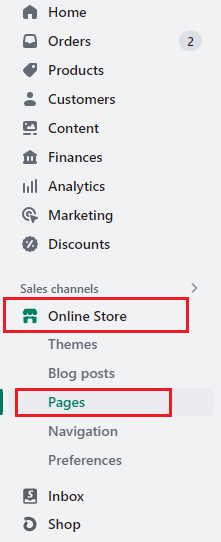
Go to Shopify Admin > Online Store > Pages.
Step 2 –
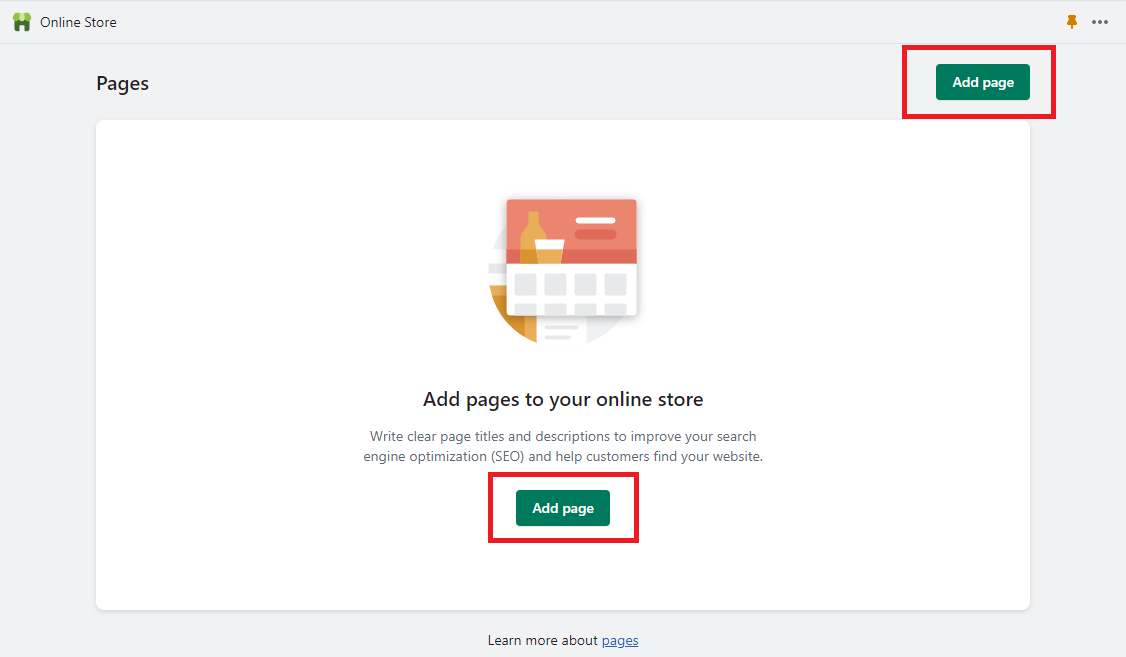
Select the Add Page option.
Step 3 –
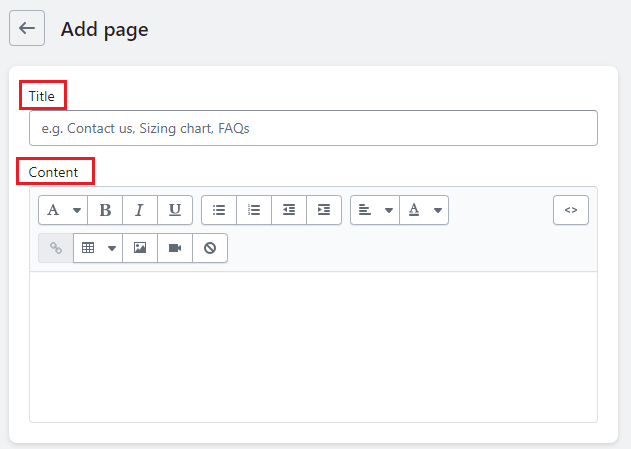
Add Title and Content in Shopify Page.
Set the desired Title of your Shopify page.
For adding Content to your Shopify page, you have two ways of doing it.
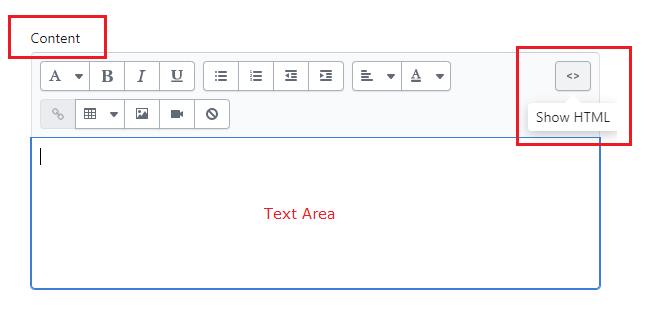
There are two ways to add content to your Shopify page. You can manually fill in the text area or add the HTML codes for the Shopify content. The text content will then be automatically added to your store.
The feature-rich text editor of Shopify will display the text you entered in the Shopify content field in the same format you entered in your backend on your store frontend.
In this text area, you are provided with many formatting options from which you can change your text color, font, and text alignment.
In addition to this, you can also insert links, images, videos and tables as well into the content of your Shopify page.
Add this step is done over here.
“Note: You can add and edit your content for the Shopify page by following these same steps.”
Step 4 –
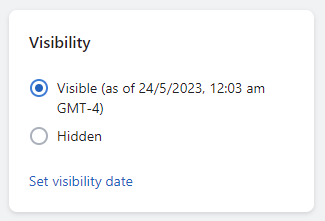
With Shopify, you have the option to either hide or display your Shopify page for all to see.
Your newly added page will automatically be visible to all visitors of your Shopify store within this section.
Shopify offers a convenient solution to keep your page visible for a specific time period. You can easily control the visibility of your Shopify page on your storefront by setting a publishing date. This way, you can ensure that your page remains accessible to your customers for as long as needed.
Select whatsoever option is suitable for your Shopify store.
Step 5 –
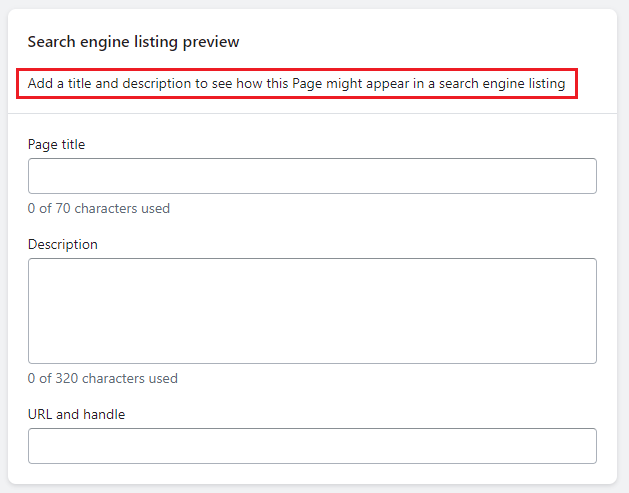
Fill out the details, which will be your Shopify page’s Search engine listing preview.
Add the Page Title, Description, URL and Handle.
Step 6 –
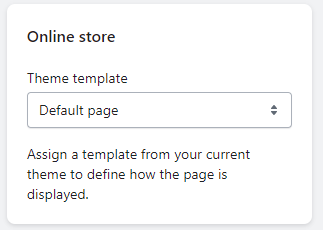
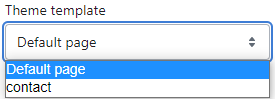
Choose the template in which you want your store to be visible.
You are provided with two options Default Page and Contact.
Choose the Default page option if you want your new page to be displayed normally like other Shopify pages.
Whereas choosing the Contact option if you want your visitors to fill out a contact form and then access that Shopify page.
Step 7 –
Once you are done completing these steps,
“Note: If you want to edit any of your Shopify pages’ fields or edit the Shopify page, you can do it by following these steps.”
Done and done. 😅
That was so damn easy. 😎
Even if you have an eCommerce business, you must pay attention to the power of words. Having relevant pages with SEO-rich content on your Shopify page is very important for your Shopify store to be visible to the ones who are in search of your business and provide them with the information they need to know as a visitor/customer.
SEO plays a vital role in improving the business of an eCommerce store. If you want to enhance your online presence in terms of SEO, consider consulting an SEO and digital marketing service provider to help you with your query. Or, if you need to have any customization for your Shopify store, hire a Shopify developer and create a convenient store for you and your customers.
Happy Shopifying! 🤗
“Note: If you want to create more new Shopify pages for your Shopify store, follow these same steps, and new pages will be created for your Shopify store.”
—————————————————————————————————————————————–
Frequently Asked Questions
(1) What is Shopify?
Answer: Shopify is an e-commerce platform that allows businesses to set up online stores and sell products or services.
(2) How do I add a new page to my Shopify store?
Answer: To add a new page to your Shopify store, follow these steps:
(3) Can I customize the layout and design of the new page?
Answer: Yes, you can customize the layout and design of the new page. Shopify provides a built-in theme editor that allows you to modify the design and layout of your pages. You can access the theme editor by going to “Online Store” and then “Themes” in your Shopify admin panel. From there, you can customize the page template, colors, typography, and other visual elements to match your store’s branding.
(4) How can I add the new page to my navigation menu?
Answer: To add the new page to your navigation menu, follow these steps:
(5) Can I set up a different template for the new page?
Answer: Yes, you can set up a different template for the new page if your theme supports it. Some Shopify themes offer different page templates with unique layouts and design elements. To set a different template for the new page:
E-commerce has transformed the way consumers shop for products and services and interact with businesses.…
The e-commerce world is constantly in flux. New tech and strategies emerge daily to help…
Hello Magento Friends, In today’s blog, we will discuss adding a header and footer to…
Hello React Native Friends, Building a visually appealing and responsive mobile app is crucial in…
We're thrilled to announce the release of Hyvä Themes 1.3.6 and 1.3.7! These latest updates…
Your e-commerce platform is surging - orders are rolling in, traffic spikes are becoming the…