Hello Magento Friends,
In this tutorial, I am going to describe Magento 2: How to Divide System Configuration Groups in Multiple .xml Files?
Sometimes developers need to divide system configuration groups in multiple .xml files, so other developers can easily understand where we have created system configuration groups.
Let’s dive into How to Divide System Configuration Groups in Multiple .xml Files in Magento 2.
Steps to Divide System Configuration Groups in Multiple .xml Files in Magento 2:
Step 1: First, create a “system.xml” file inside the extension at the below-given path.
app\code\Vendor\Extension\etc\adminhtml\
Now add the below code
<?xml version="1.0"?>
<config xmlns:xsi="http://www.w3.org/2001/XMLSchema-instance"
        xsi:noNamespaceSchemaLocation="urn:magento:module:Magento_Config:etc/system_file.xsd">
    <system>
        <tab id="extension" translate="label" sortOrder="100" class="">
            <label><![CDATA[Custom Tab]]></label>
        </tab>
        <section id="customgroup" translate="label" type="text" sortOrder="1" showInDefault="1" showInWebsite="1"
                 showInStore="1">
            <label>Custom Tab</label>
            <tab>extension</tab>
            <resource>Vendor_Extension::customgroupconfig</resource>
            <group id="general" translate="label" type="text" sortOrder="10" showInDefault="1" showInWebsite="1"
                   showInStore="1">
                <label>Configuration</label>
                <field id="enable" translate="label comment" type="select" sortOrder="10" showInDefault="1"
                       showInWebsite="1" showInStore="1">
                    <label>Enable</label>
                    <source_model>Magento\Config\Model\Config\Source\Enabledisable</source_model>
                </field>
            </group>
            <include path="Vendor_Extension::system/group1.xml"/>
            <include path="Vendor_Extension::system/group2.xml"/>
        </section>
    </system>
</config>
Step 2: After that, we need to create a “group1.xml” file at the following path.
app\code\Vendor\Extension\etc\adminhtml\system\
Then add the below code
<?xml version="1.0"?>
<include xmlns:xsi="http://www.w3.org/2001/XMLSchema-instance"
         xsi:noNamespaceSchemaLocation="urn:magento:module:Magento_Config:etc/system_include.xsd">
    <group id="custom_1" translate="label" type="text" sortOrder="15" showInDefault="1" showInWebsite="1"
           showInStore="1">
        <label>Custom Configuration</label>
        <field id="active" translate="label" type="select" sortOrder="10" showInDefault="1" showInWebsite="1"
               showInStore="1">
            <label>Enabled</label>
            <source_model>Magento\Config\Model\Config\Source\Yesno</source_model>
        </field>
    </group>
</include>
Step 3: After that, we need to create a “group2.xml” file at the below path.
app\code\Vendor\Extension\etc\adminhtml\system\
And add the code as follows
<?xml version="1.0"?>
<include xmlns:xsi="http://www.w3.org/2001/XMLSchema-instance"
         xsi:noNamespaceSchemaLocation="urn:magento:module:Magento_Config:etc/system_include.xsd">
    <group id="custom_2" translate="label" type="text" sortOrder="20" showInDefault="1" showInWebsite="1"
           showInStore="1">
        <label>Custom Configuration 1</label>
        <field id="active" translate="label" type="select" sortOrder="10" showInDefault="1" showInWebsite="1"
               showInStore="1">
            <label>Enabled</label>
            <source_model>Magento\Config\Model\Config\Source\Yesno</source_model>
        </field>
    </group>
</include>
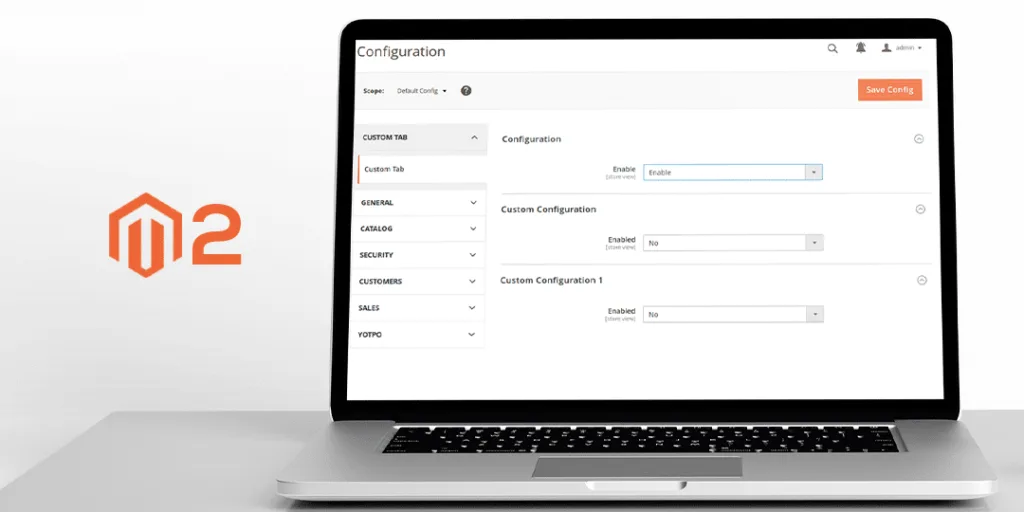
You can see that the system configuration groups are divided in the Magento 2 backend.
Conclusion:
Accordingly, you can Divide System Configuration Groups into Multiple .xml Files in Magento 2. Additionally, learn How to Create System.xml Configuration in Magento 2.
If you face any difficulty let me know through the comment box. Share the article with your colleagues and stay updated with our latest Magento 2 tutorials.
Happy Coding!
